
How to Stop Webroot From Charging Your Credit Card?
Webroot offers a wide range of cybersecurity services that help to protect your system from potential threats. Its identity protection services monitor for any suspicious activity related to identity theft. However, there are times when users may not wish to continue with Webroot or face automatic charges.
If your account lacks sufficient funds, automatic charges may result in overdraft fees or declined transactions.

To avoid all these situations, you can stop Webroot from charging your credit card. By preventing these unwanted charges, you can avoid frustration and feel in control. Wondering how? Here, we explain a step-by-step guide on how to stop Webroot from charging your credit card.
Potential Issues When Stopping Webroot From Charging Credit Card
When attempting to stop Webroot from charging your credit card, you may encounter the following problems:
-
Billing portal access
-
Double charges
-
Scam emails
-
Customer support
Solutions to Stop Webroot From Charging Your Credit Card
Here are practical solutions that can help stop Webroot from charging your credit card:
Solution 1: Deactivate Automatic Renewal
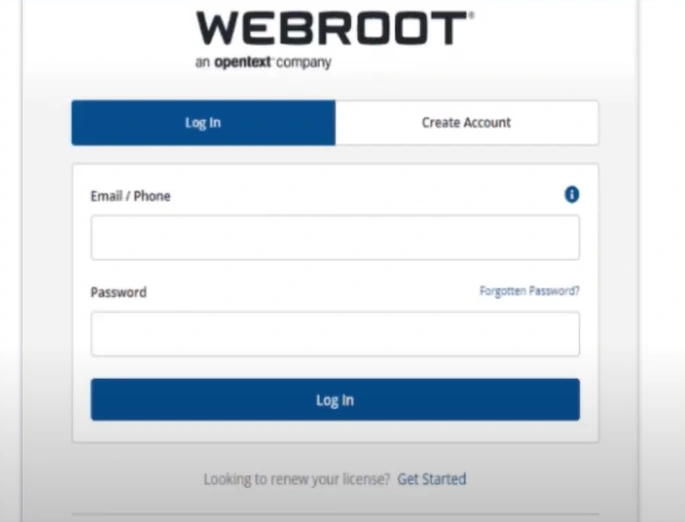
Step 1: First, sign into your Webroot account.
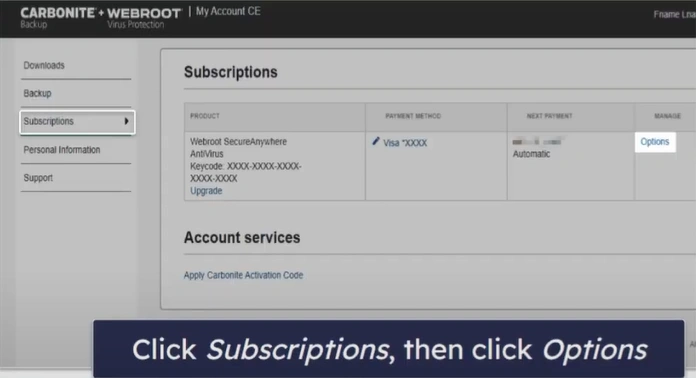
Step 2: Go to the Subscriptions tab.
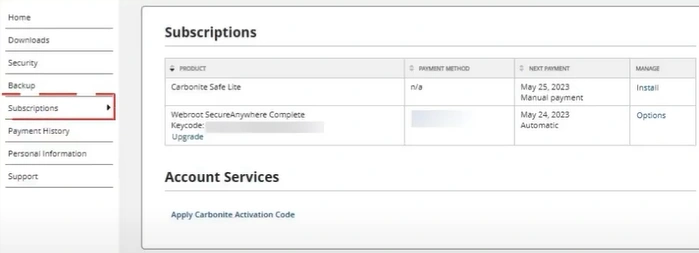
Step 3: In the Subscriptions section, click Options under Manage.
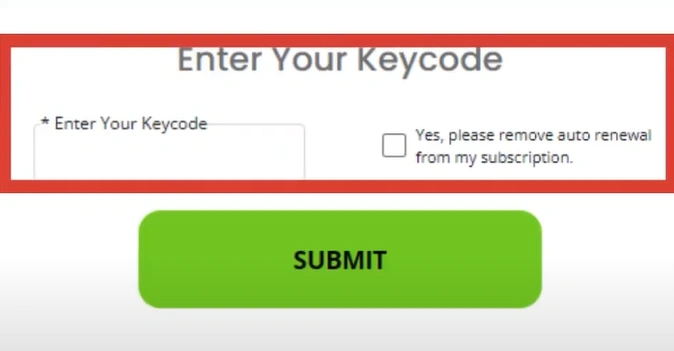
Step 4: In the Manage Subscriptions Renewal window, copy the Keycode and follow the link.
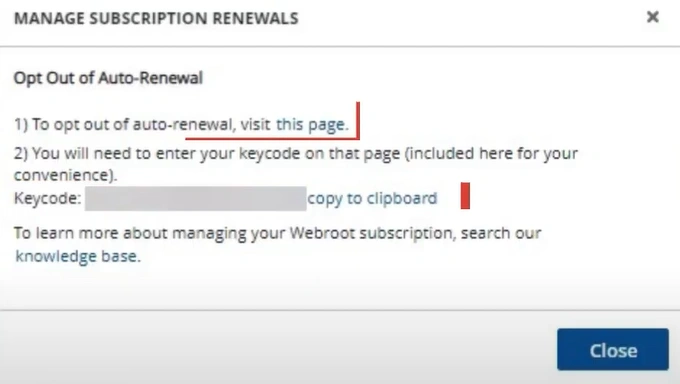
Step 5: Enter the Keycode in the box, check the box, and click Submit.
Solution 2: Stop AutoPay
Step 1: Log into the Webroot Manage console.

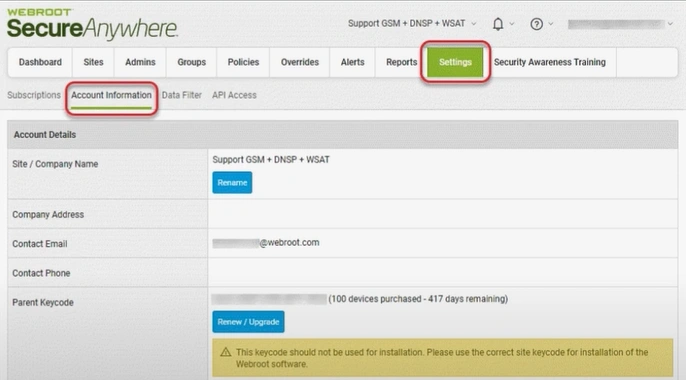
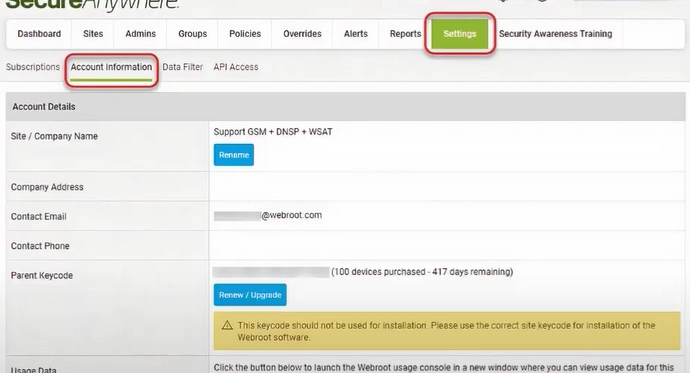
Step 2: Select Settings in the top navigation bar, then go to the Account Information tab.
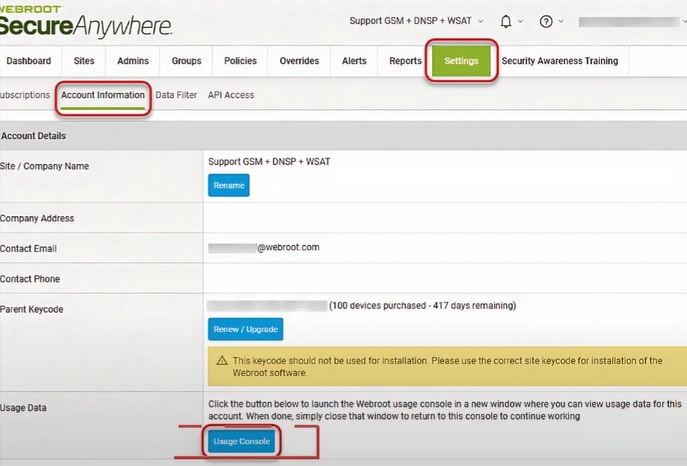
Step 3: Click the blue Usage Console button.

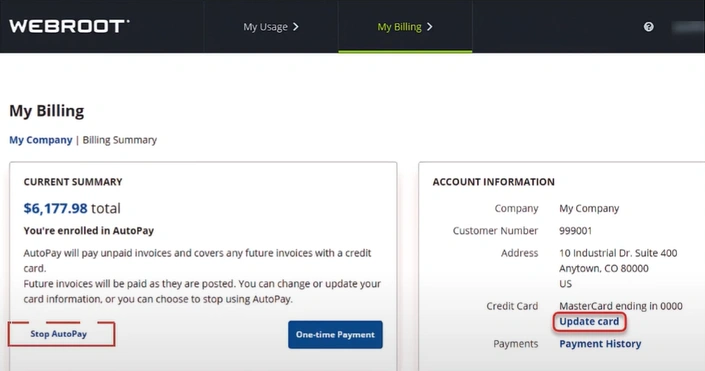
Step 4: The My Billing portal will display the billing information.

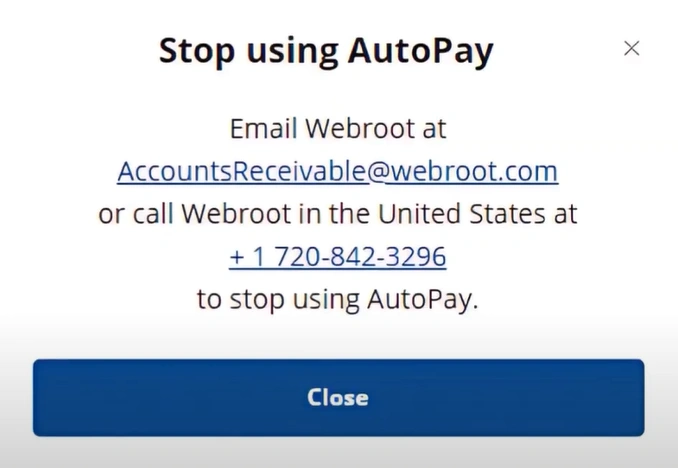
Step 5: Click Stop AutoPay.
Also Read:- How to Resolve Webroot Installation and Uninstallation Error?
Step 6: The new pop-up prompt will display further instructions on how to cancel AutoPay.
Solution 3: Change or Update Card Information
Step 1: First, sign into the Webroot Management console.

Step 2: Select Settings in the top navigation bar, then go to the Account Information tab.
Step 3: Click the blue Usage Console button.

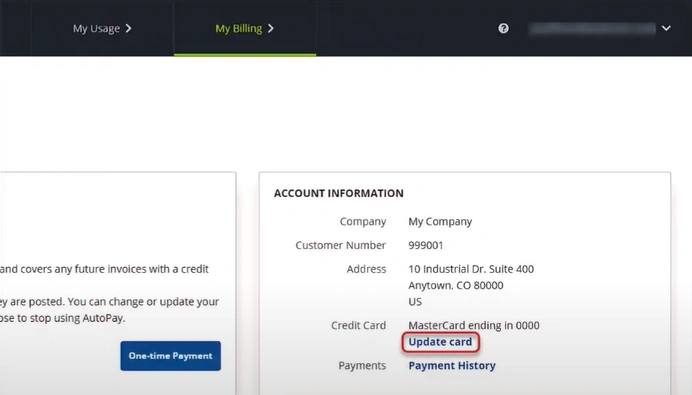
Step 4: Click Update Card in the Account Information section.
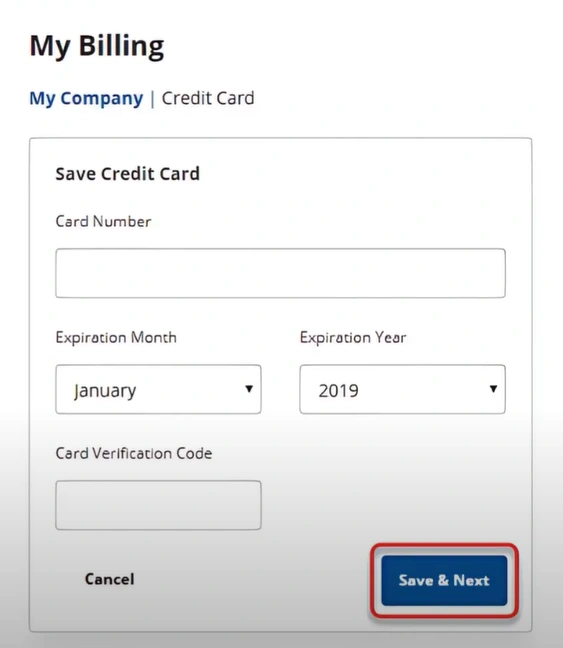
Step 5: Fill in the new card details and click Save & Next.
Step 6: Fill in the Billing Address and click Register.
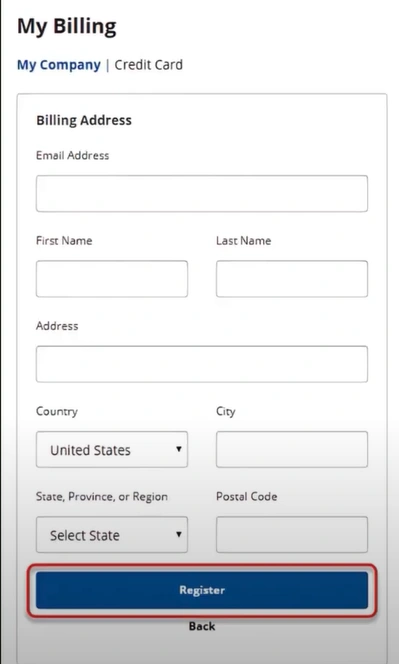
Step 7: A confirmation message will be displayed once the new card information is updated.

Closure
Knowing that your Webroot subscription will not be renewed without your consent, you can feel less stressed. Ensure a seamless process by following the above-mentioned “how to stop Webroot from charging your credit card” steps. Address the potential problems that may occur along the way.
If you need any help stopping Webroot from charging your credit card, remember that you can always contact a professional for support.
