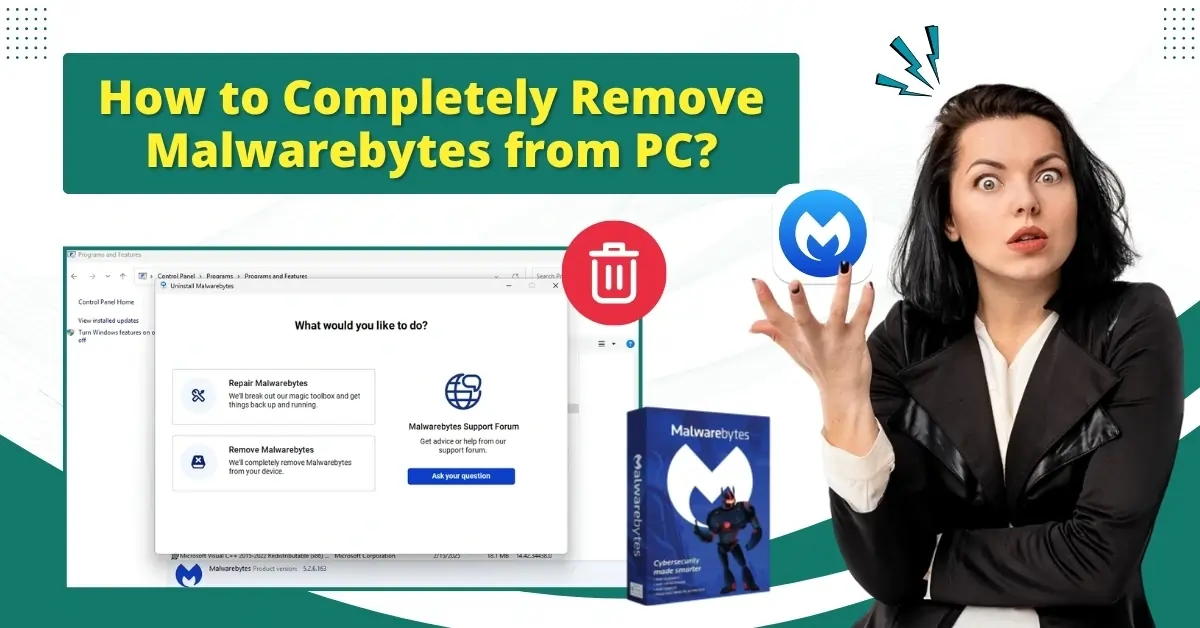
How to Completely Remove Malwarebytes from PC?
Like many users, I chose Malwarebytes for enhanced PC protection after hearing about its advanced features and malware prevention capabilities. It worked great initially, but after some time, it did not work like it used to. Over time, Malwarebytes antivirus began to slow down my PC.
Moreover, the frequent Malwarebytes updates frustrated me, and pop-ups appeared during my most important tasks. The antivirus also started interfering with other software on the system. So, I took a break and decided to permanently remove Malwarebytes from my computer. Let me show you how to remove Malwarebytes from your PC.

Common Issues When Removing Malwarebytes From a PC
It is common to face certain issues while attempting to remove Malwarebytes from a PC. Here are a few problems that I faced during the uninstallation:
-
Incomplete uninstallation
-
System performance issues after removal
-
Software conflict
-
Reinstallation problems
Steps to Remove Malwarebytes From PC
Follow these steps for a smooth and complete removal of Malwarebytes from your PC.
Step 1: On your desktop, right-click on the Malwarebytes application and select Open file location.
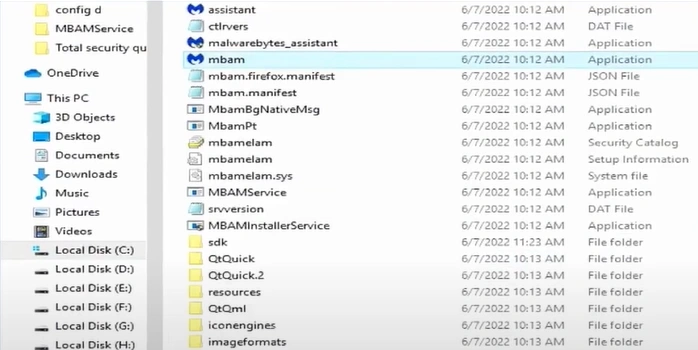
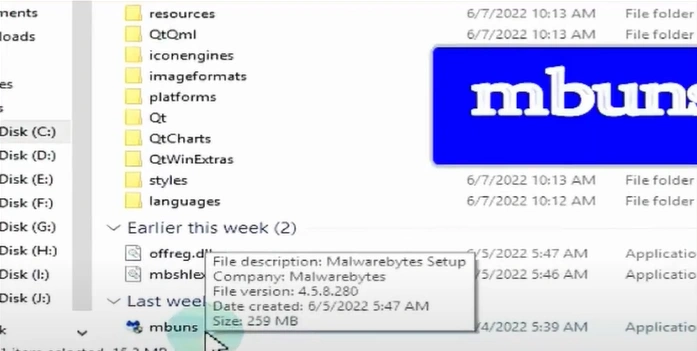
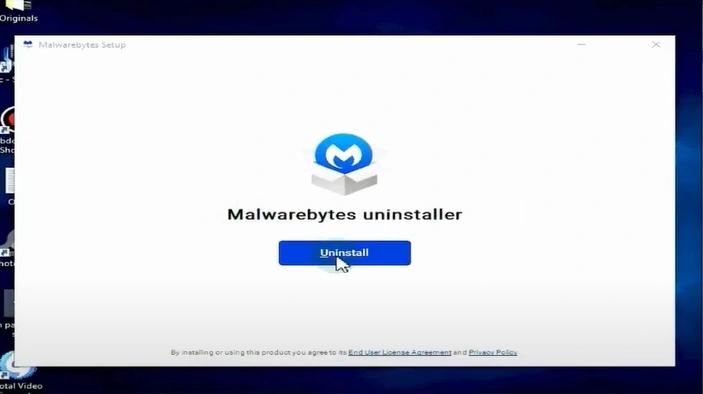
Step 2: Find the file with the name “mbuns” and double-click on it.
Step 3: Click the Uninstall button and wait for it to uninstall completely.
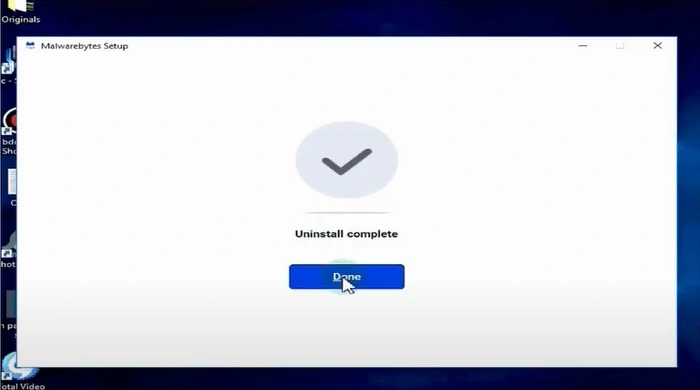
Step 4: After uninstallation, click Done and restart your PC.
Also Read:- How to Resolve Malwarebytes Product Key Not Working?
In a Nutshell
I must say that the “how to completely remove Malwarebytes from PC” process is a little more than simply hitting the Uninstall button. After completely uninstalling Malwarebytes, it’s important to check for leftover files or folders in the Program Files directory and delete them manually if found. This thorough approach will ensure a clean removal.
Sometimes, background processes remain running. So, you just need to open Task Manager and look for any processes labeled “Malwarebytes” or “MBAM.” If you find any, right-click and select End Task.
