How to Fix The Avira Antivirus Not Updating Error?
Avira is one of the most commonly used third-party antivirus software. One of the rich features Avira offers is a fast VPN. However, with all the best features, it has some issues that are quite rare.
One of the common issues users may face is Avira antivirus not updating errors. Don’t worry! With a few solutions, you can fix this error smoothly. here, we have explained in detail how you can fix Avira antivirus errors that are not updating. Read further!

Methods to Fix The Avira Antivirus Not Updating Error
Fixing the Avira antivirus not updating error is a straightforward process and with the help of the below-given methods, you can do it effortlessly.
Method 1: Temporarily Disable Windows Defender
Step 1: Right-click on the Windows start button and go to settings.
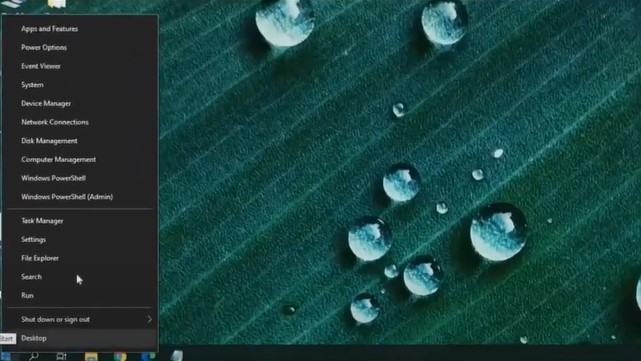
Step 2: Select Update & Security, then click on Windows Security.
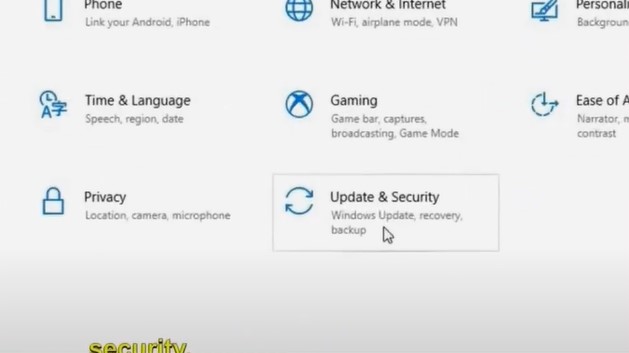
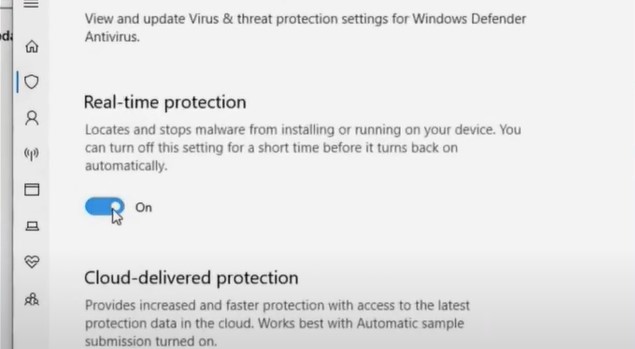
Step 3: Click on virus & threat protection, scroll down, and click manage settings under virus & threat protection settings.
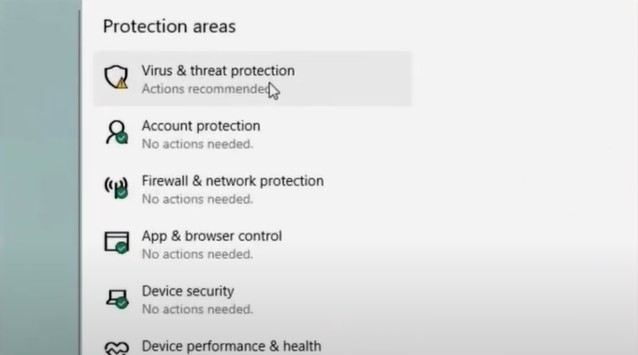
Step 4: Turn off real-time protection and close the window.
Method 2: Disable Web Protection Temporarily On Avira
Step 1: Open the Avira antivirus program and click the settings icon on the top right side of the screen.
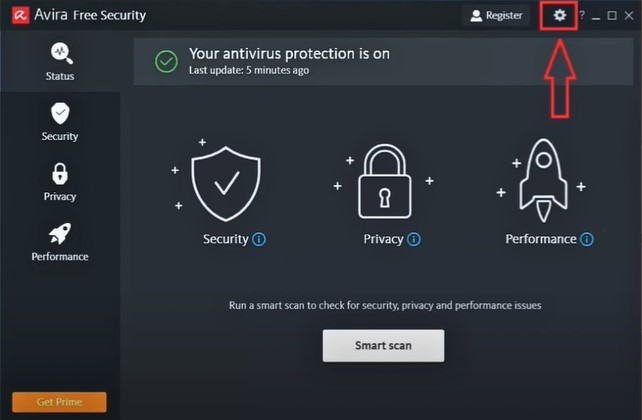
Step 2: Select internet protection, then disable web protection.
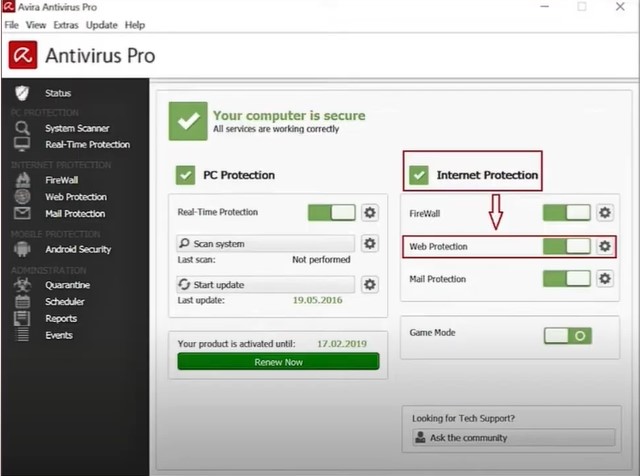
Step 3: Once done, try to update and see if it works.
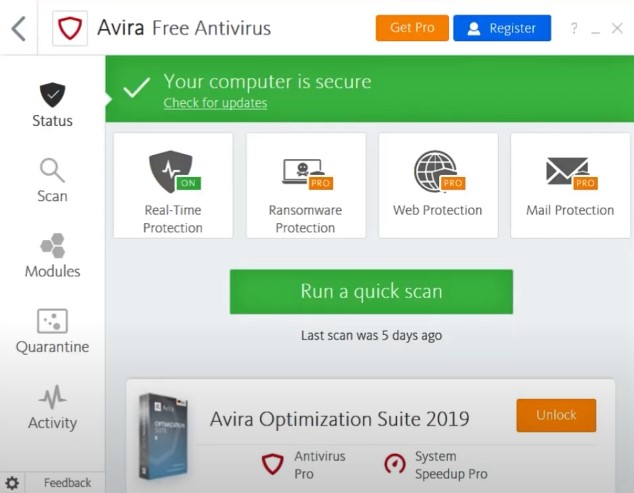
Method 3: Reinstall Avira
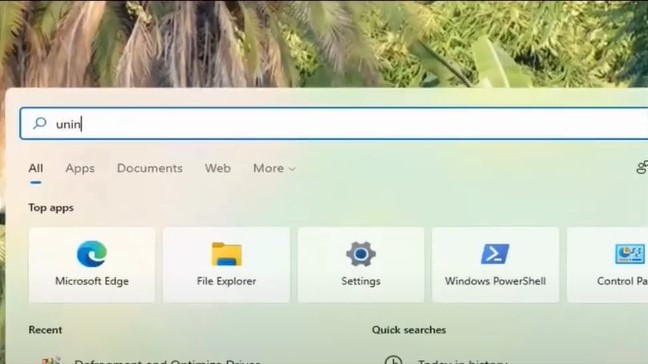
Step 1: Click the Windows search bar, search uninstall, and open add or remove programs.
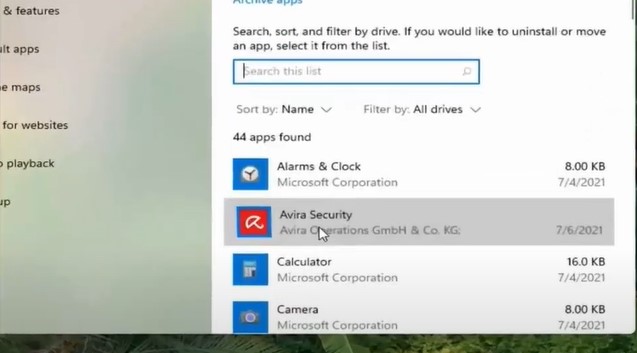
Step 2: Locate your Avira program, select it, and click uninstall.
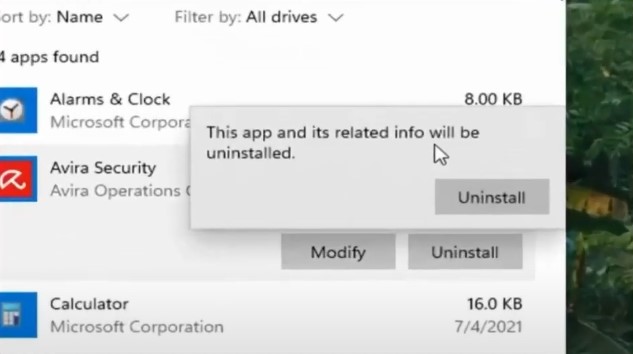
Step 3: Click uninstall again in the prompt to proceed.
Also Read:- How to Resolve Avira Login Issue?
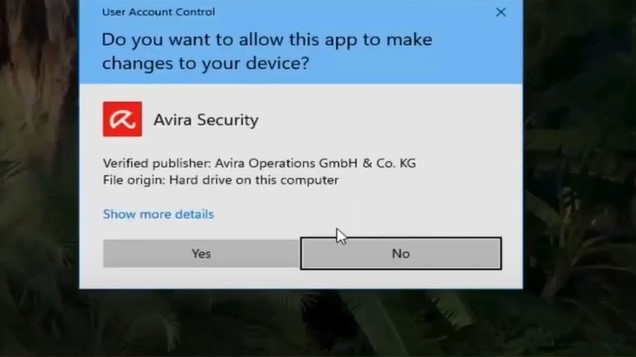
Step 4: Select yes in the user account control window.
Step 5: Select uninstall when the Avira window appears, and it’ll start uninstalling.
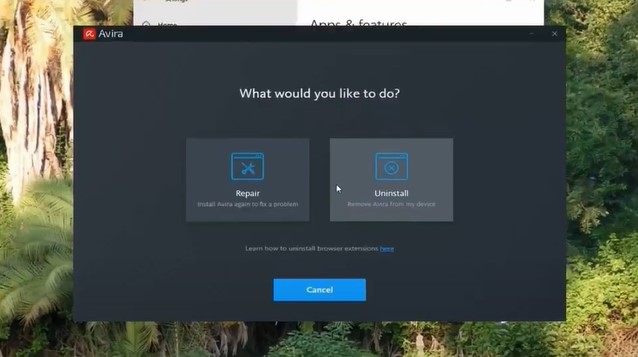
Step 6: The uninstallation process will take some time.
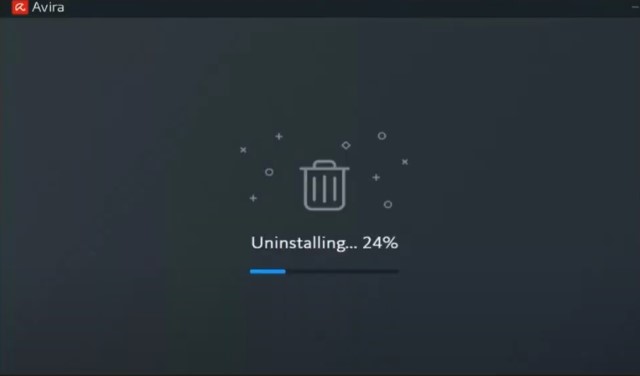
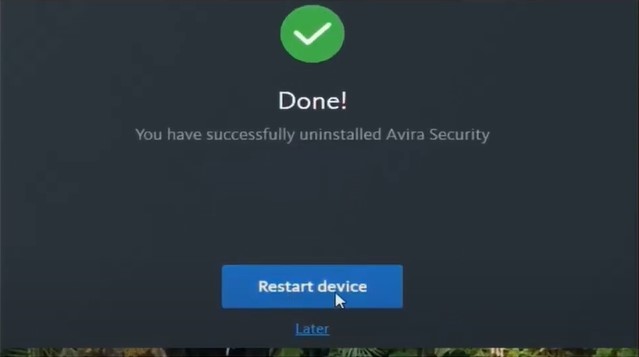
Step 7: When you’ve successfully uninstalled the program, click restart the device and wait for the system to turn back on.
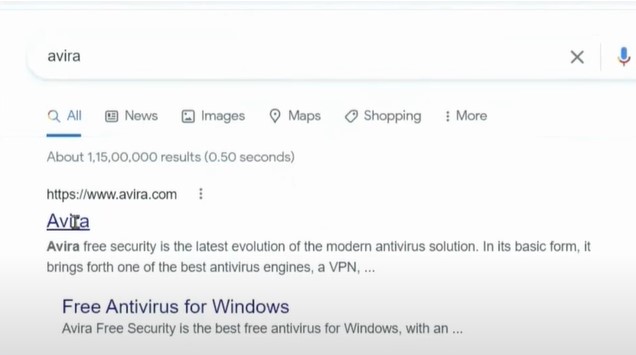
Step 8: Open the web browser and navigate to the official Avira website.
Step 9: Download the program and open the downloaded file.


Step 10: In the new Avira window, click agree and install, and the installation process will take a few minutes.
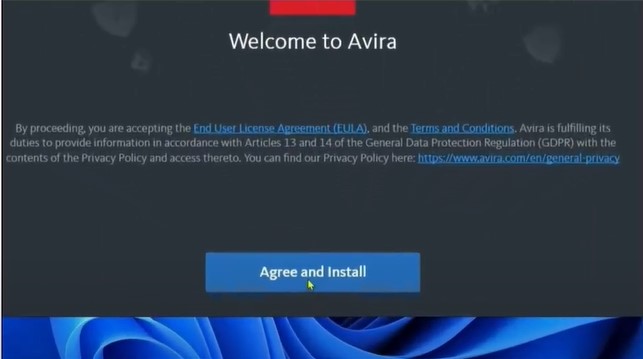
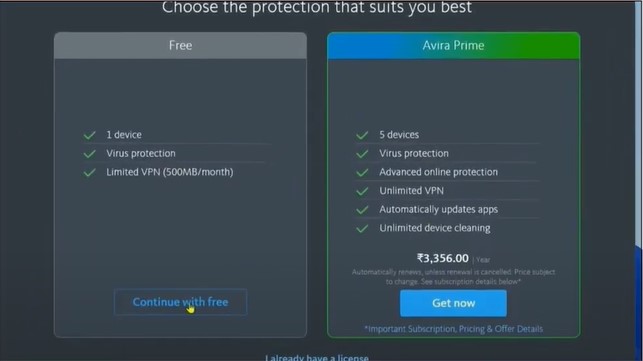
Step 11: After installing, select the plan you were using previously.
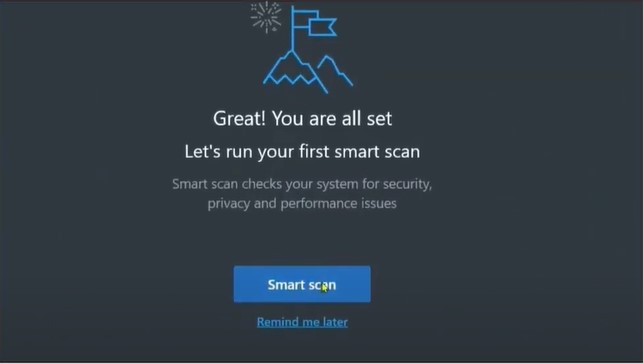
Step 12: Once done, go ahead and perform a Smart scan.
Method 4: Update Avira Manually
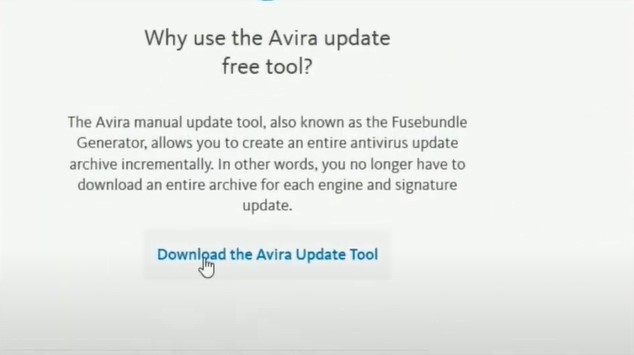
Step 1: Open the web browser and navigate to the official Avira virus definition file update website.
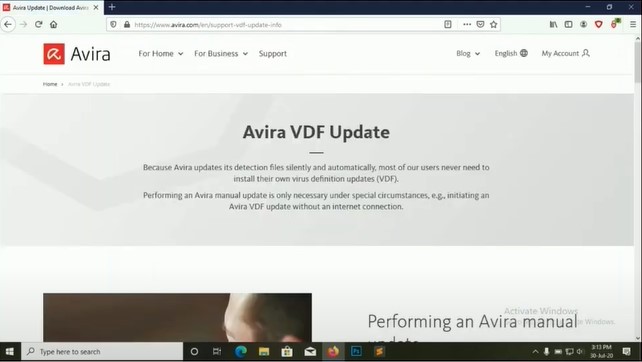
Step 2: Scroll down and click download the Avira update tool, choose a file location, and click OK.
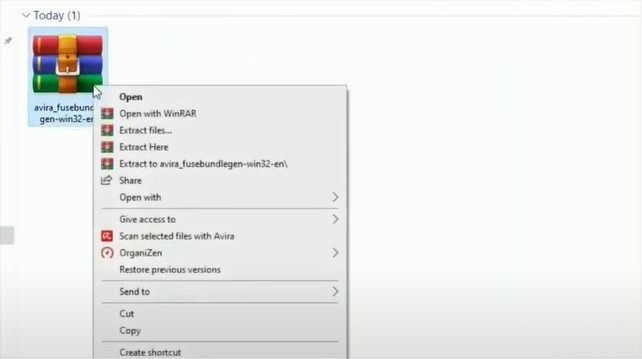
Step 3: Once the download is complete, extract the downloaded file, then run the executable fine.
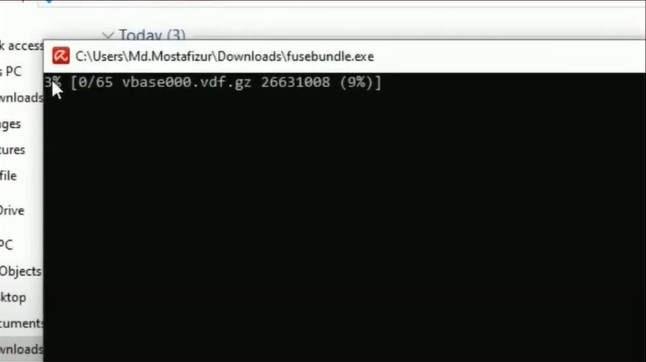
Step 4: Once the fuse bundle reaches 100%, exit the program.
Step 5: Click the Windows start button, locate, and click the Avira folder drop-down.
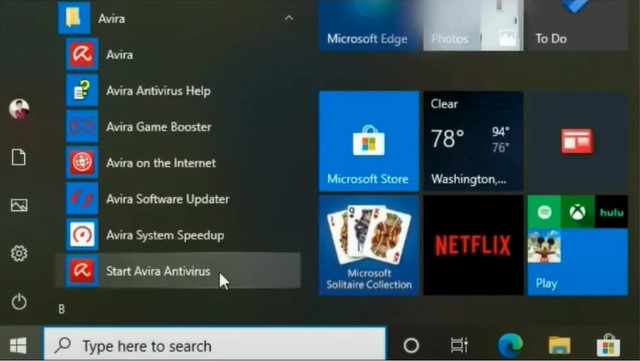
Step 6: Click Start Avira antivirus and wait for the program to load.
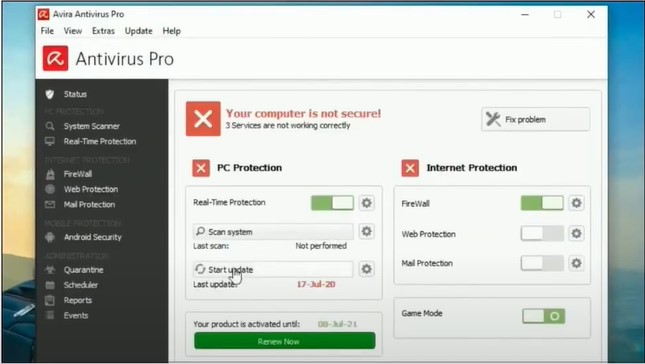
Step 7: Click update on the top bar and select manual update.
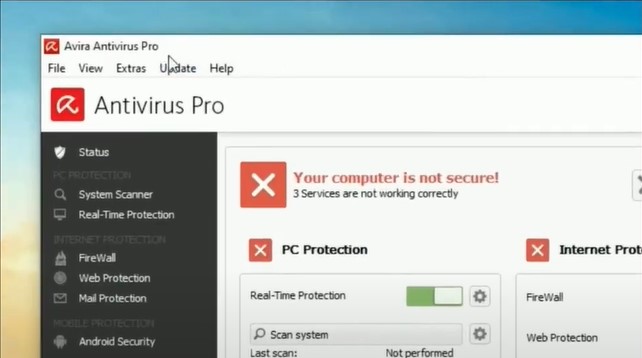
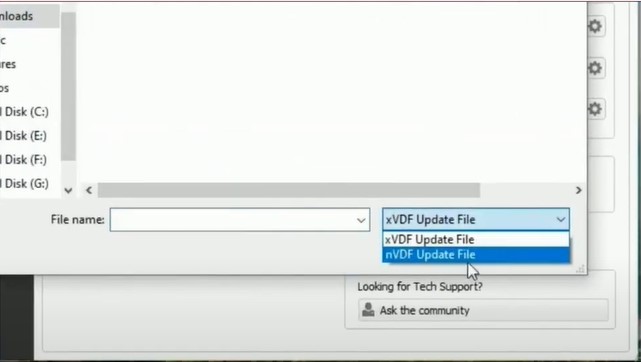
Step 8: When the open screen appears, click the file drop-down and select the nVDF update file.
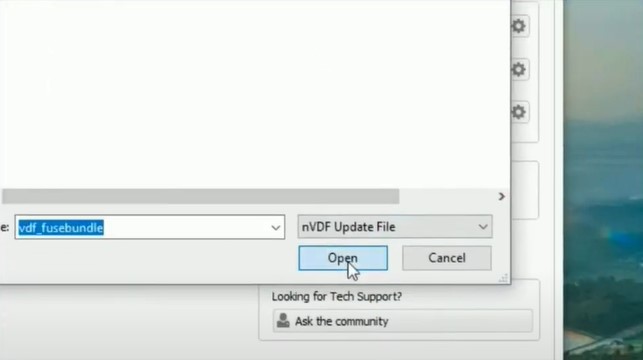
Step 9: Select the vdf fuse bundle file and click open.
Step 10: The update process will begin, which will take some time.
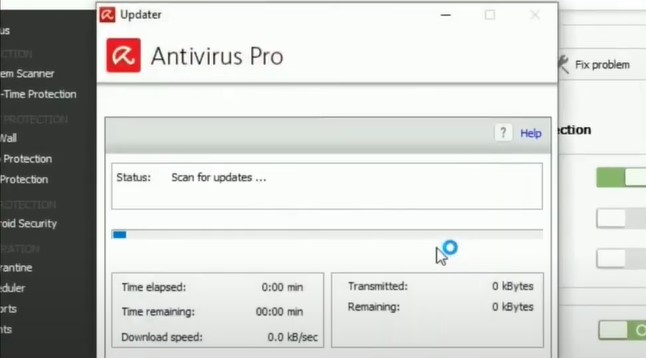
Step 11: Once the update is complete, restart the computer.
Conclusion
Hopefully, the above methods have helped you to fix the Avira Antivirus not updating error. If the update problem still persists, we suggest getting help from a trustworthy professional.


 Bitdefender antivirus issues
1 min ago