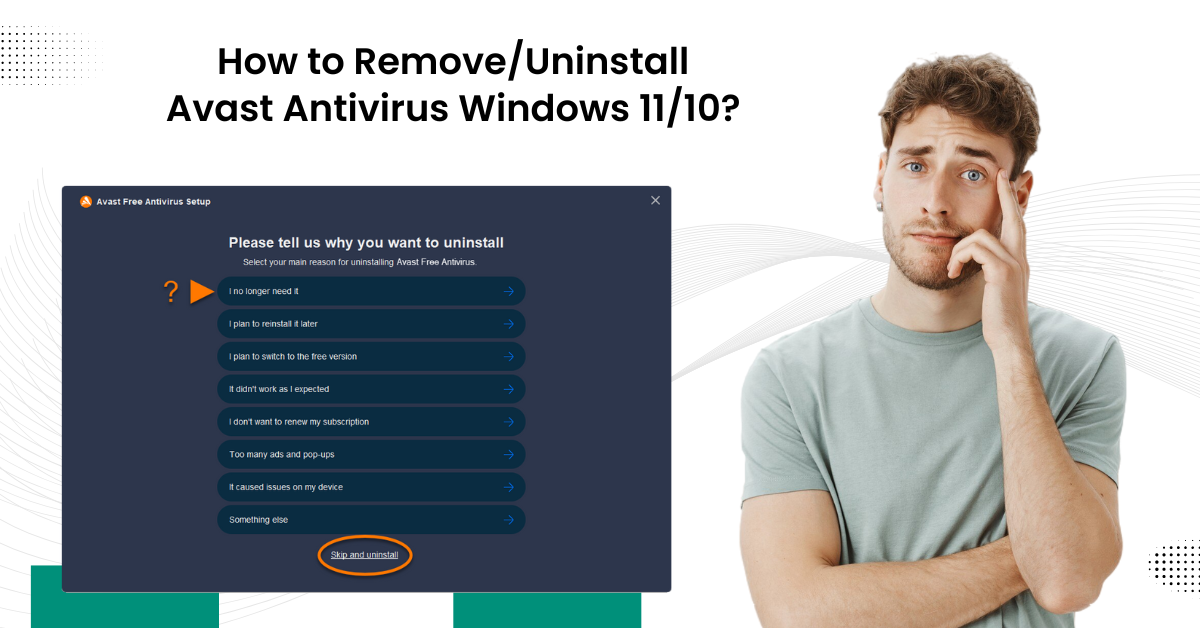
How to Remove/Uninstall Avast Antivirus Windows 11/10?
Avast Antivirus is well-known for its robust protection against threats, but there are times when you need to remove/uninstall Avast Antivirus. Removing or uninstalling Avast Antivirus from your Windows 11 or Windows 10 can be essential for various reasons, like resolving software conflicts, upgrading to a different security solution or simply no longer needing the program.
This guide will provide you with clear, step-by-step process to remove/uninstall Avast Antivirus from your Windows 11/10. Let’s take a look!

Methods to Remove/Uninstall Avast Antivirus Windows 11/10
We have separately explained the steps for Windows 10 and Windows 11, which will make things easier for the user. Go through the below steps:
Windows 10
Step 1: Click the Windows start button.

Step 2: Type in uninstall and open Add or Remove Programs from the result.
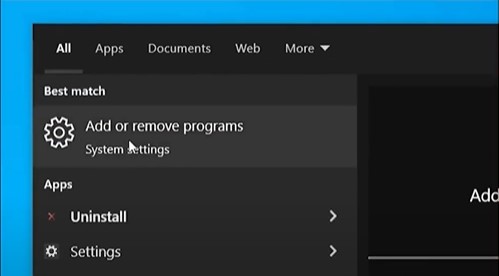
Step 3: Click the search for List bar, then type in Avast.
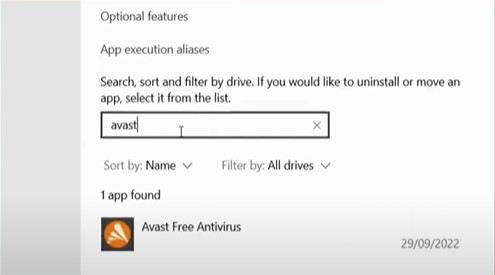
Step 4: Click on the Avast antivirus program from the result, click Uninstall, then click Uninstall again in the prompt.
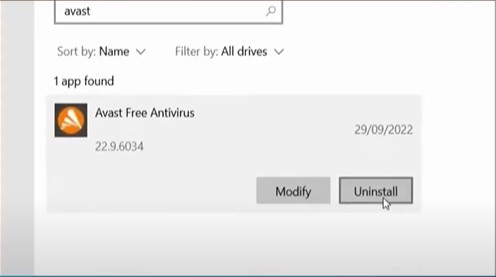
Step 5: If you get the User Account Control prompt, select Yes.
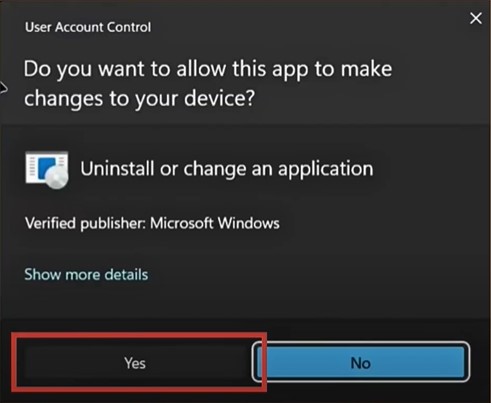
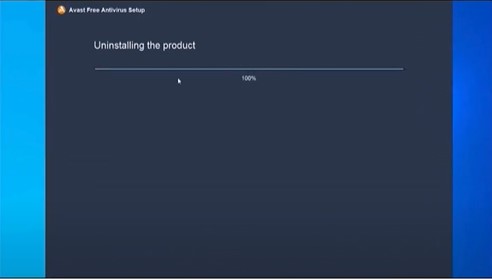
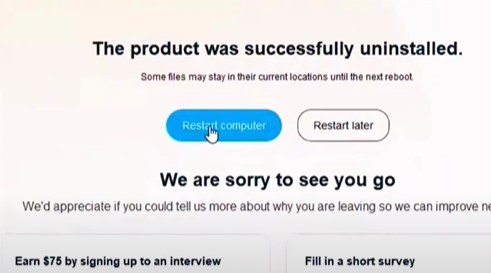
Step 6: Once you get the Product was successfully Uninstalled screen, click Restart Computer or Restart Later.
Windows 11
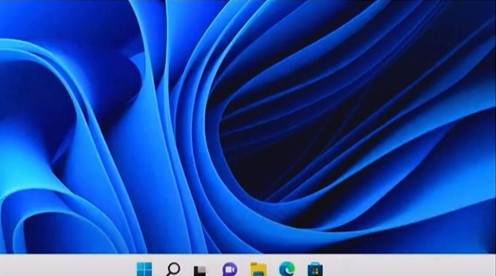
Step 1: Click on the Windows start button and go to Settings.
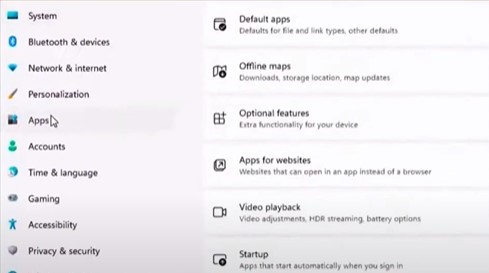
Step 2: Select Apps, then go to Apps & Features.

Also Read:- How to Cancel Avast Subscription?
Step 3: Locate the Avast program, select it, and click Uninstall.
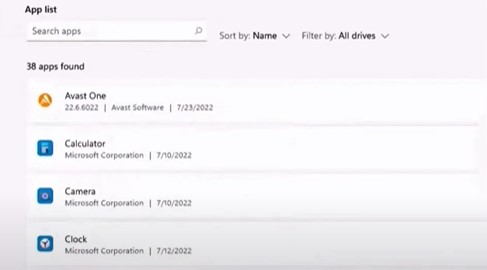
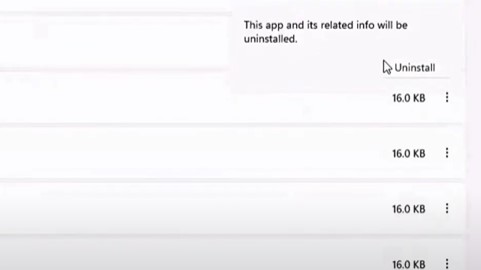
Step 4: Click Uninstall again in the pop-up prompt to proceed.
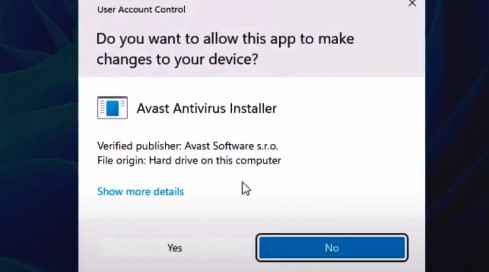
Step 5: Click Yes in the User Account Control window.
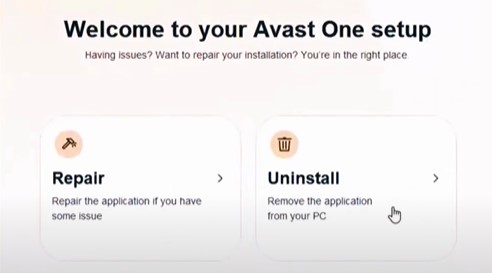
Step 6: When the Avast screen opens, click Uninstall.
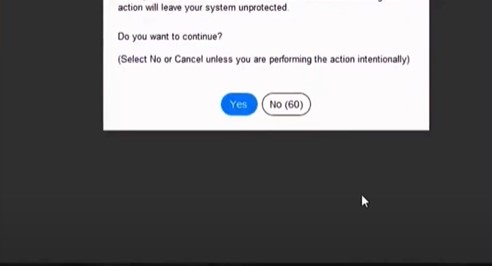
Step 7: Click Continue Uninstall and click Yes in the prompt to confirm your action.
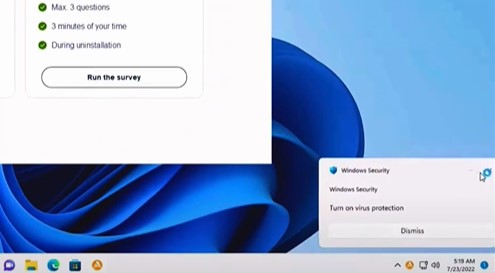
Step 8: If you get a Windows Security notification, close it.
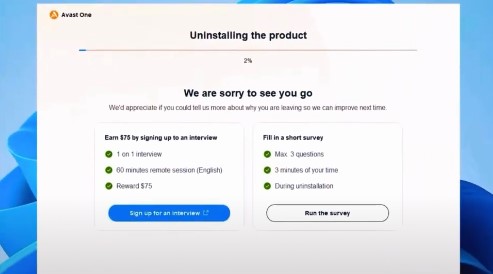
Step 9: Wait for the uninstallation process to complete.


 Bitdefender antivirus issues
1 min ago