Antivirus Tales
  • Home
  • Contact Us
  • Knowledge base
  • Support
  • All Antivirus
  • Home
  • Contact Us
  • Knowledge base
  • Support
  • All Antivirus

Step 1

20%

Q1: Kindly choose your brand name.

Step 2

40%

Q2: Kindly choose your device.

Step 3

60%

Q3: Kindly fill your contact details.

Step 4

80%

Q4: Kindly fill your contact details.

Facing trouble with your Antivirus ? - Fix Now
Remove Auto Pay
  • Aug 01, 2024
  •  | 
  • By Donald Olsen
  •  | 
  •  | 
  • Views: 1119

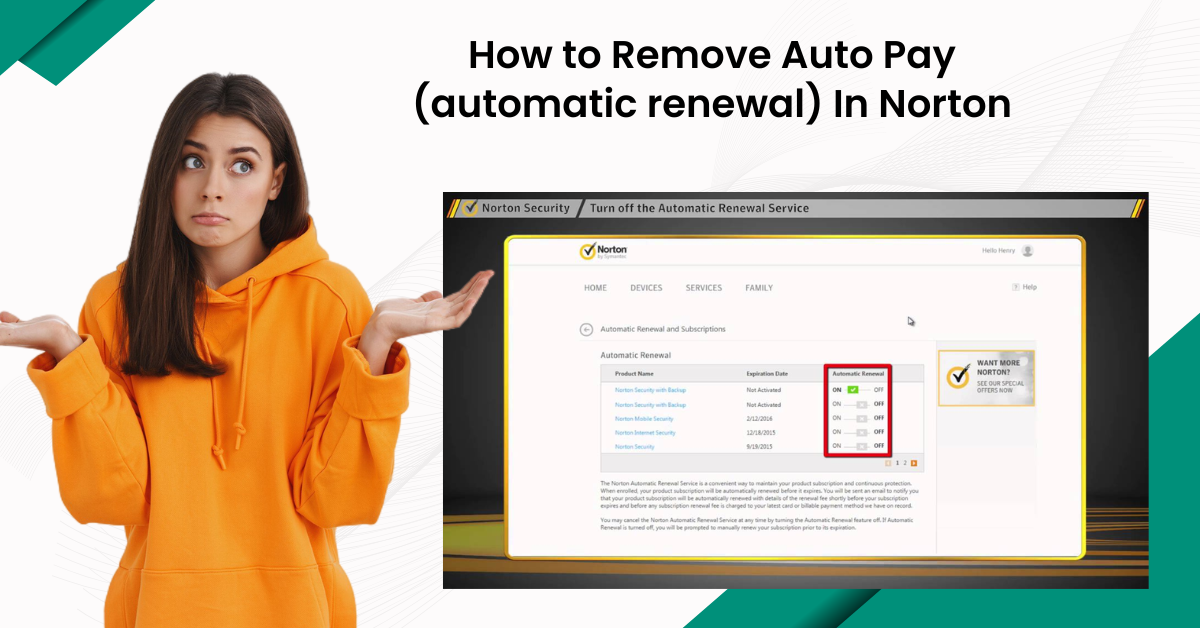
How to Remove Auto Pay (automatic renewal) in Norton?

Norton is an antivirus service that provides you the option of automatically renewing your enrollment at the end of the subscription period. To manage the Norton subscription effectively, you need to understand how to control your payment settings, especially when you have to remove auto pay or automatic renewal. Disabling the auto-pay option helps avoid unexpected charges, and you can easily manage your subscription. 

Here, we have provided you with step-by-step instructions on how to remove Auto Pay (automatic renewal) in Norton. Let’s start! Live chat with experts

Steps to Remove Auto Pay (automatic renewal) In Norton

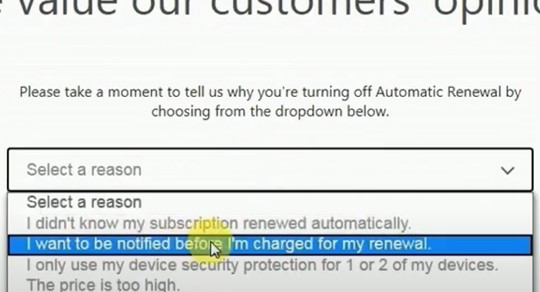
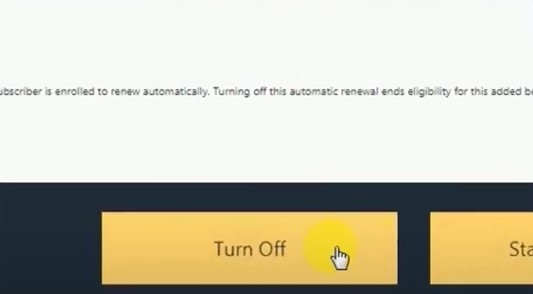
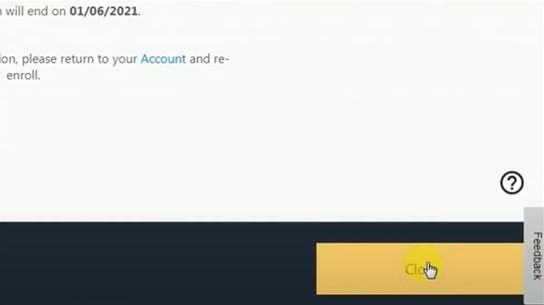
These are the steps through which you can remove Auto Pay (automatic renewal) in Norton. Go through these steps:

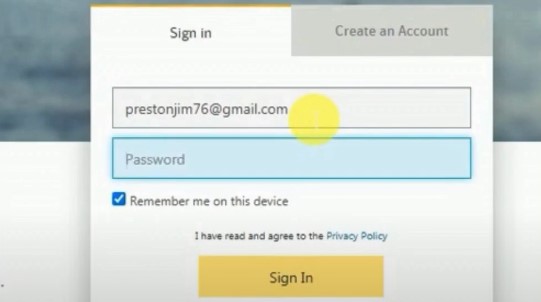
   Step 1: First, open the web browser and sign into your account. Live chat with experts

open the web browser and sign

 
   Step 2:  Click on your profile and select My Subscriptions.
Click on your profile
 
   Step 3: In the My Subscriptions tab, locate Automatic Renewal.
locate Automatic Renewal
 
   Step 4: Click on the toggle to turn off Automatic Renewal.
turn off Automatic Renewal
 
  Step 5: Click Continue on the following page to continue with the removal process.
Click Continue on the following page
 
    Step 6: Select the reason why you’re turning off the Automatic Renewal from the drop-down menu, and click Continue.
and click Continue
 
  Step 7: In the Turn Off Automatic Renewal? Page, click Turn Off
Step 7: In the Turn Off Automatic Renewal? Page, click Turn Off
 
   Step 8: Once done, click Close.
Once done, click Close
 

   Conclusion

That’s all in this write-up that emphasizes how to remove Auto Pay (automatic renewal) in Norton. However, if you still struggle to resolve the issue even after trying the above steps, contact a professional.

Was this article helpful?
Antivirus Support
Tags: Remove Auto Pay
  • Share
Prev
How to Uninstall Sophos Endpoint Windows/Mac?
Next
How to Remove/Uninstall Avast Antivirus Windows 11/10?

free consultation

Table of Contents

  • Steps to Remove Auto Pay (automatic renewal) In Norton
  •    Conclusion

Recent Post

About McAfee Corp

Learn All About McAfee Corp. [A Cybersecurity Company]

Feb 23, 2023
Kaspersky

Things You Need to Learn About Kaspersky Before Choosing It!

Feb 23, 2023
About AVG Technologies

All You Need to Know About AVG Technologies

Feb 23, 2023
Important Facts to Know About Norton

Important Facts to Know About Norton

Mar 27, 2023
Know About the Bitdefender Company

Everything You Need to Know About the Bitdefender

Mar 28, 2023
Antivirus Tales

An independent troubleshooting resource for antivirus software errors. Guides here cover installation failures, update issues, scan errors, product key problems, and more - across all major antivirus programs.

Not affiliated with any antivirus company.

Company

  • Home
  • Knowledge Base
  • Support
  • Contact Us

Issues We Resolve

  • Learn All About McAfee Corp. [A Cybersecurity Company]
  • Things You Need to Learn About Kaspersky Before Choosing It!
  • All You Need to Know About AVG Technologies
  • Important Facts to Know About Norton
  • Everything You Need to Know About the Bitdefender
  • Everything You Should Know About the Sophos

Contact Info

  • Email info@antivirustales.com
  • Contact US +1-857-557-6826
    UK +44-161-791-4591
  • Address 698 NE 1st Ave, Miami FL 33132

Copyright © 2026 by Antivirustales.com All rights reserved.

  • Terms Of Use
  • Disclaimer
  • Privacy Policy
image-not-found
1
2
3
4
5

Step 1

Let's start 😀

Which operating system do you use ?

Step 2

Step 2 to 5

Let us know the device you are facing this error/issue on:

Step 3

step 3 to 5

Let us know, since how long have you been facing this error/issue

Step 4

step 4 to 5

Kindly enter your name and email

Step 5

Last step 🏆

Let us schedule a call for you

Step 5

Completed 100% 🏆

Thankyou for contacting us

Our subject matter expert will contact you on the provided number, kindly answer all the calls.

Chat Support
🍪 We are using Cookies! For more information visit this page  Cookie policy.