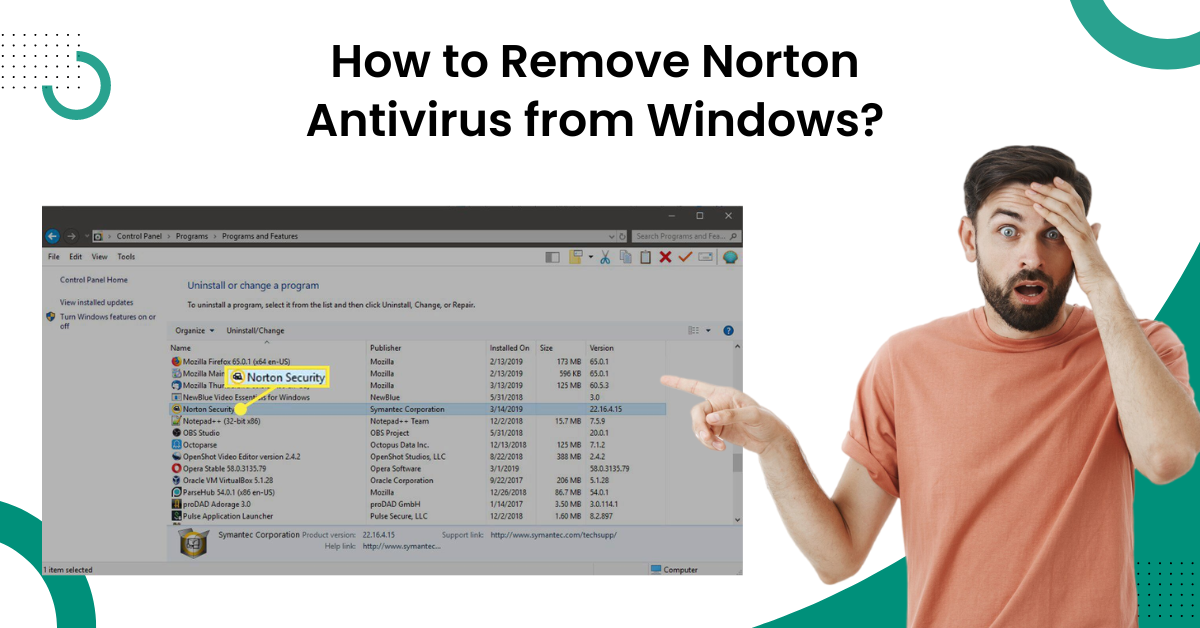
How to Remove Norton Antivirus from Windows?
Norton antivirus prevents numerous harmful bugs, viruses, malware, and other threats with its versatile security features. But, due to some complications, many users may need to remove the program from their device. If you are also planning to remove Norton antivirus from windows, we are going to make things easier for you.
We will tell you about the two step-by-step and effective methods to remove Norton Security like a piece of cake. So, keep reading the whole write-up until the end to grasp a deep understanding of both methods.

Method 1: Uninstall Manually
You can manually Uninstall the Norton antivirus from your device by following the guide below.
-
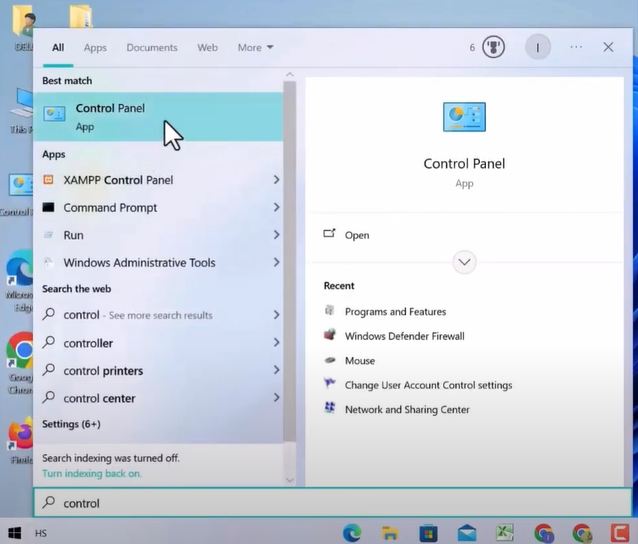
Firstly, click on the Windows Start menu and then search for the Control Panel and open it.
-
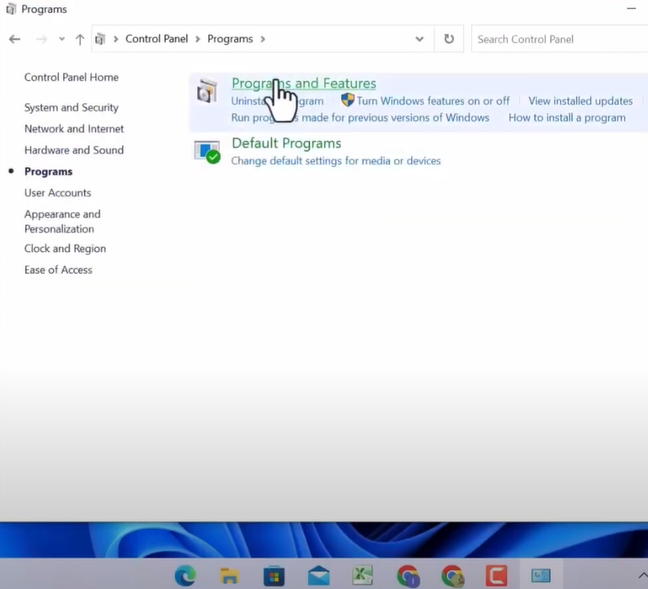
After that, move to Programs and select the option Programs & Features.
-
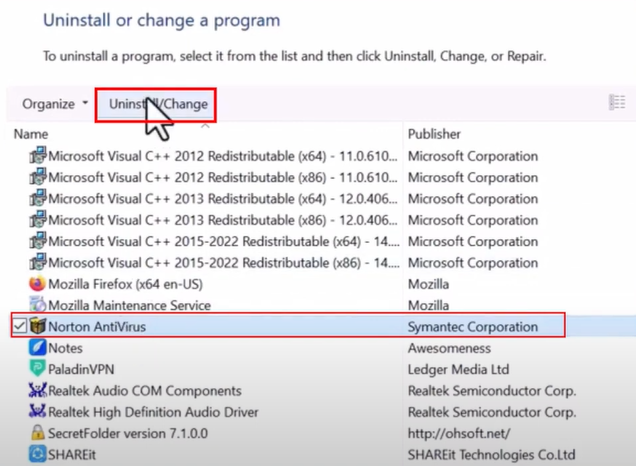
Then, scroll down and locate the Norton antivirus program, select it, and click Uninstall/Change.
-
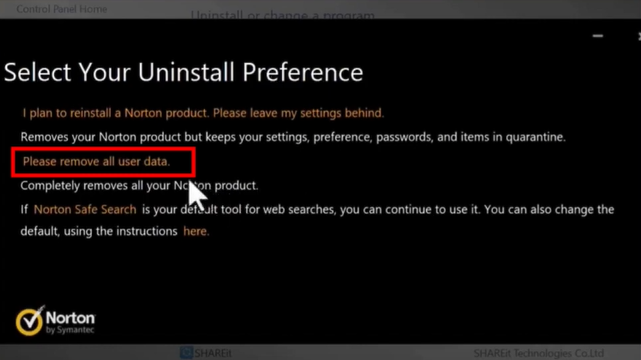
Now, on the ‘Select Your Uninstall Preference Window’ select the option ‘Please remove all the user data.’
-
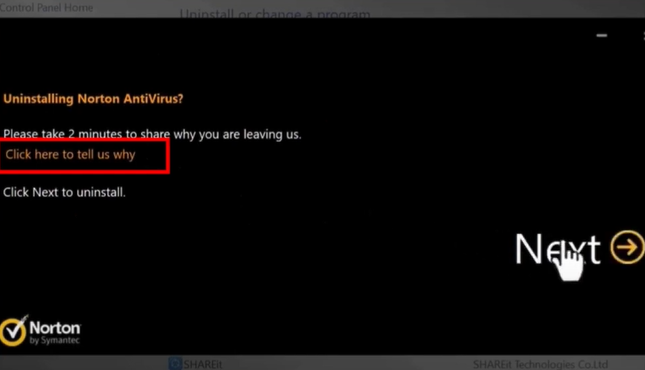
On the next page, you can give the reason behind the uninstallation or click ‘Next’ to proceed with the uninstallation process.
-
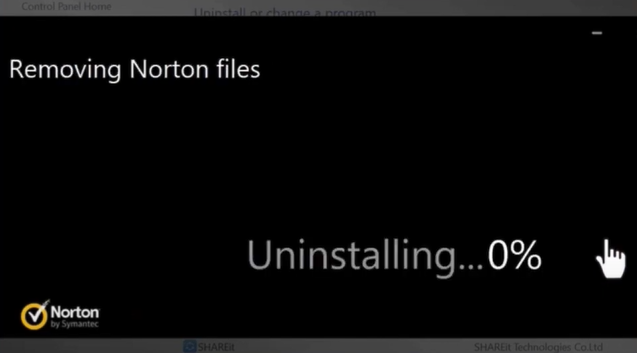
Next, the uninstallation process will begin; it will take a few minutes to complete.
-
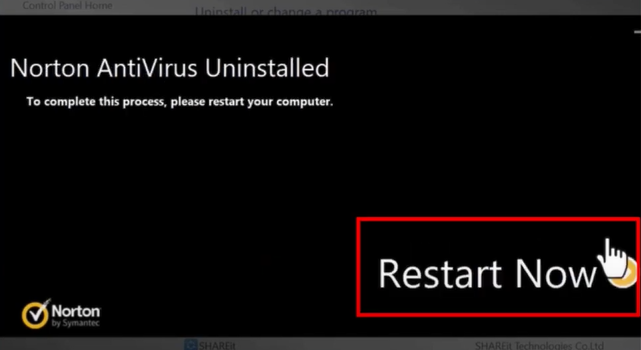
Once the Norton uninstallation process is complete, close all the open tabs and restart your computer system.
-
Now, inspect if the Norton antivirus program is removed from your device or not.
Also Read: How to Cancel Norton Automatic Renewal?
Method 2: Uninstall Using Norton Remove & Reinstall Tool
If you are unable to remove Norton antivirus from your Windows device manually, then you can take the help of Norton Remove & Reinstall Tool. Here is how you can do it.
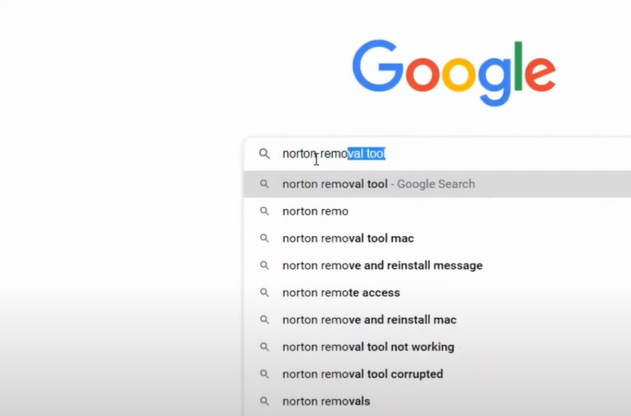
-
After that, select the official Norton website from the search results, look for the download link, and download the tool.
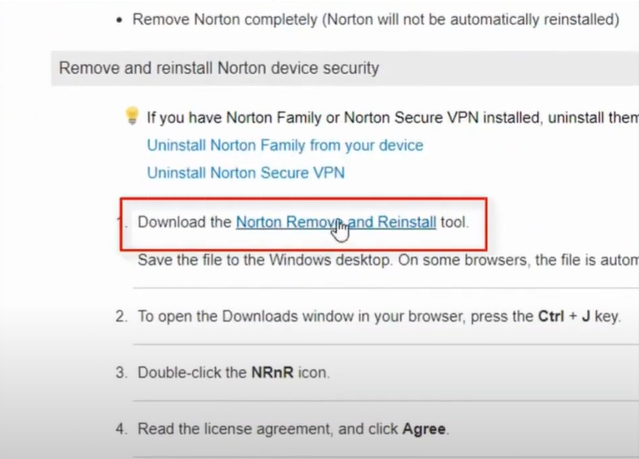
-
Now, wait until the software is downloaded, then open the downloaded file.
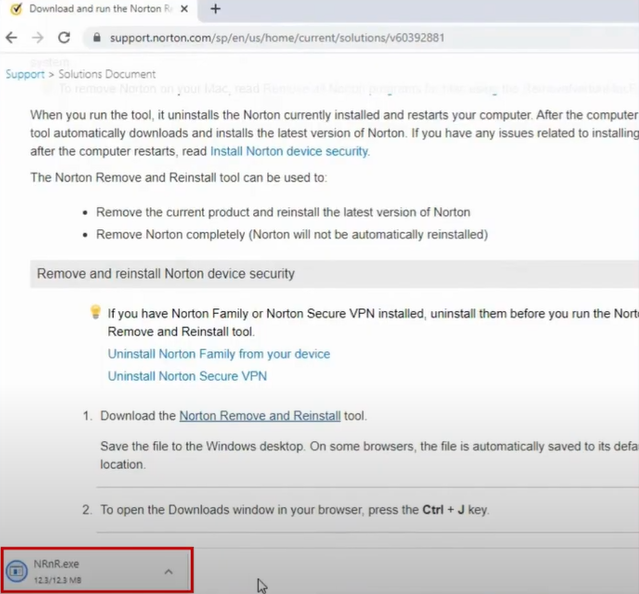
-
When the User account control window opens on the screen, choose the Yes option to move forward.
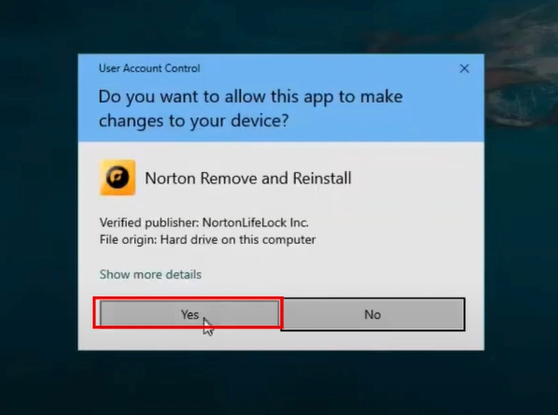
-
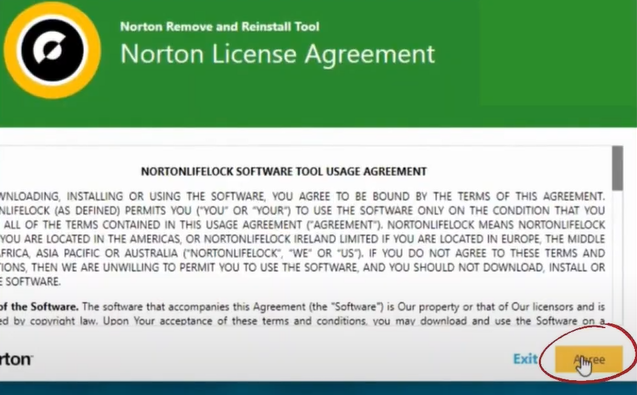
Next, go through the license agreement and then click on the Agree button.
-
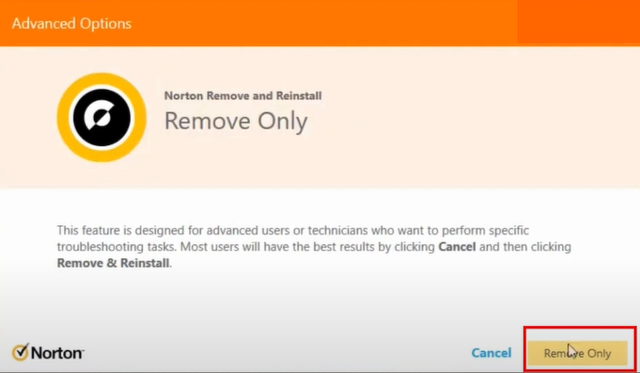
Click the Advanced option and then choose Remove Only.
-
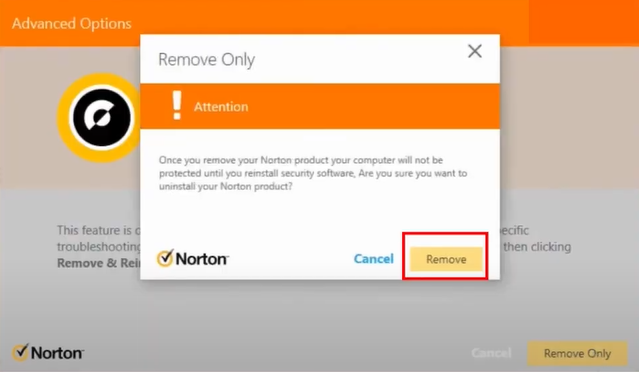
After that, select Remove in the new pop-up window, and it will start uninstalling the program from your device.
-
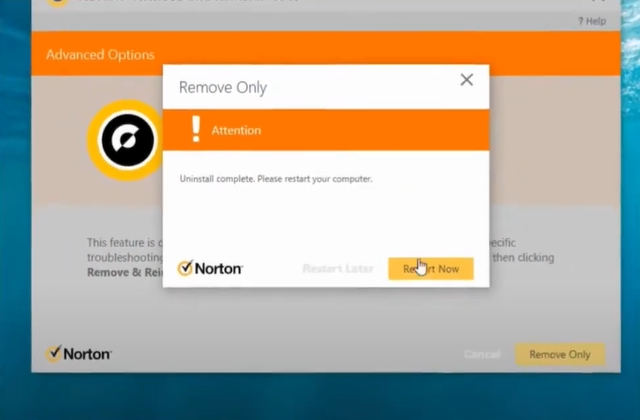
Once the uninstallation process is complete, click Start Now to restart the system.
-
Finally, the Norton program will be removed from your Windows device; check your device to confirm it.
Final Words
With the help of our easy-to-understand guide, you can remove Norton antivirus from Windows device with utmost ease. You can try any of these two methods or both according to your preference and the problem you are facing. Ensure that you are following the correct and whole procedure to execute the Norton removal efficiently. Plus, it eliminates the chances of facing any issues. Besides that, if you require more help or have any issues removing the program, then ask for additional help from someone more experienced.


 Bitdefender antivirus issues
1 min ago