• Can't install antivirus
    • Antivirus Update Error
    • Antivirus Not Working
    • Antivirus Blocking System Restore
    • Antivirus Scan Failed
    • Product key not working
Antivirus Tales
  • Home
  • Contact Us
  • Knowledge base
  • Support
  • All Antivirus
  • Home
  • Contact Us
  • Knowledge base
  • Support
  • All Antivirus

Step 1

20%

Q1: Kindly choose your brand name.

Step 2

40%

Q2: Kindly choose your device.

Step 3

60%

Q3: Kindly fill your contact details.

Step 4

80%

Q4: Kindly fill your contact details.

Facing trouble with your Antivirus ? - Fix Now
how-we-transfer-malwarebytes-to-new-computer
  • May 07, 2024
  •  | 
  • By Donald Olsen
  •  | 
  • 2
  •  | 
  • Views: 1675

How we Transfer Malwarebytes to New Computer?

Malwarebytes is an excellent security product that allows you to protect your personal devices from online and offline threats. This product runs smoothly on all the compatible devices. But there could be many situations where you want to transfer your Malwarebytes program. The transfer procedure seems simple to those who have already done it. However, for new users, it can be a challenge to complete the process without proper knowledge. To help you transfer the Malwarebytes to a new computer, we are going to share descriptive guidance. Hence, we suggest you stick around through the whole content to acquire a deep understanding of every step.

The Process to Transfer Malwarebytes to a New Computer

  1. First, you need to deactivate Malwarebytes on the old computer; to do this, open Malwarebytes on the device.  Live chat with experts

Open Malwarebytes

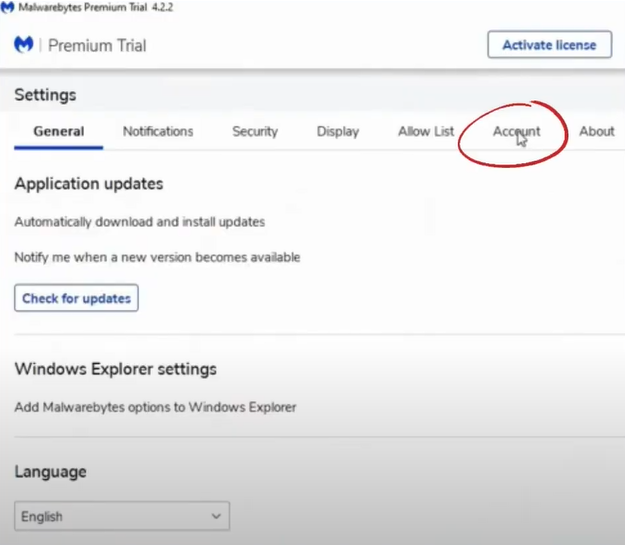
  1. After that, select the Settings icon on the right side of the open screen.

Select the setting icon 

  1. Now, go to the Account tab and then locate the device under the Account Detail section. 

Go to account tab

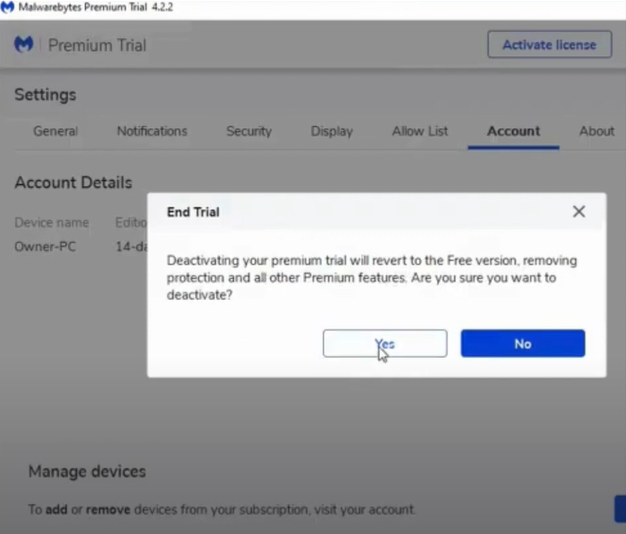
  1. Next, select Deactivate, then click on Yes in the pop-up prompt to confirm the action. 

Click On Yes

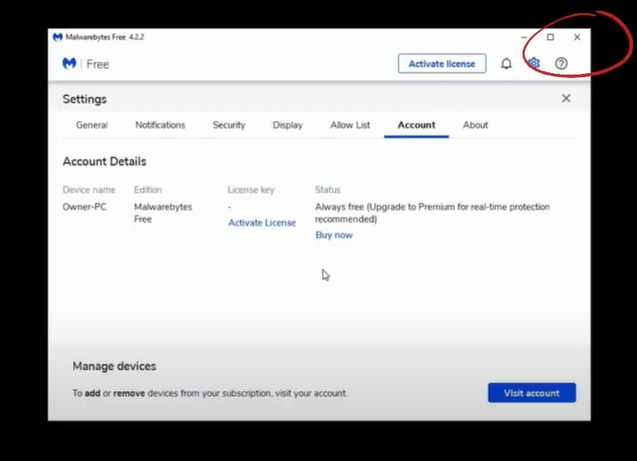
  1. Once this process is complete, close the current window.

Close the current window 

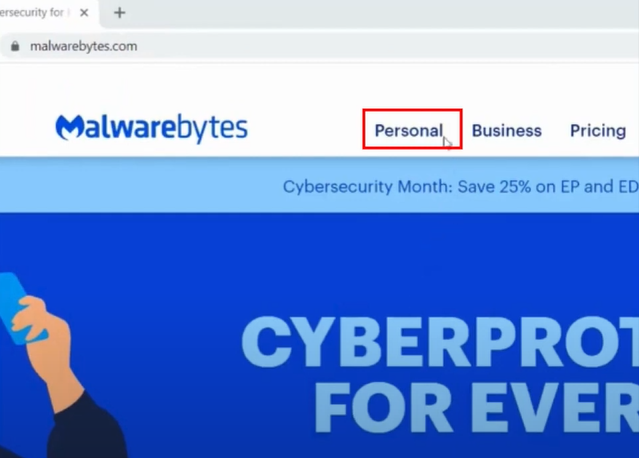
  1. Furthermore, go to the new computer, open the web browser, and visit the official Malwarebytes website.

Visit official website

  1. Then, go to the Personal tab and select Malwarebytes for Windows or other OS, depending on your device. 

Go to the personal tab

  1. After that, select the Free Download option and wait for the download to complete. 

Select the free download

  1. Next, look for the downloaded file in the Downloads file folder and open it. 

Open Downloaded file

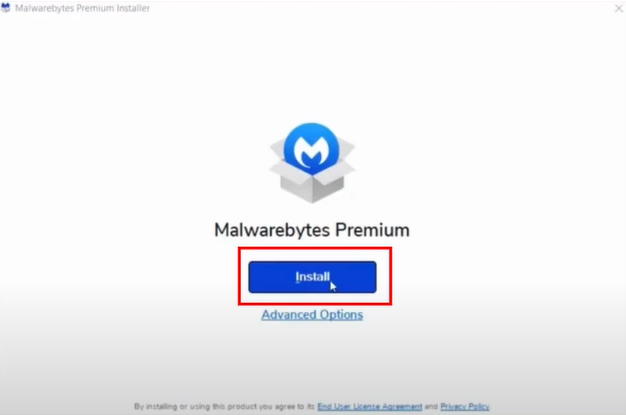
  1. Click Yes in the open user account control window and then click on the Install option. 

Click on the install option Live chat with experts

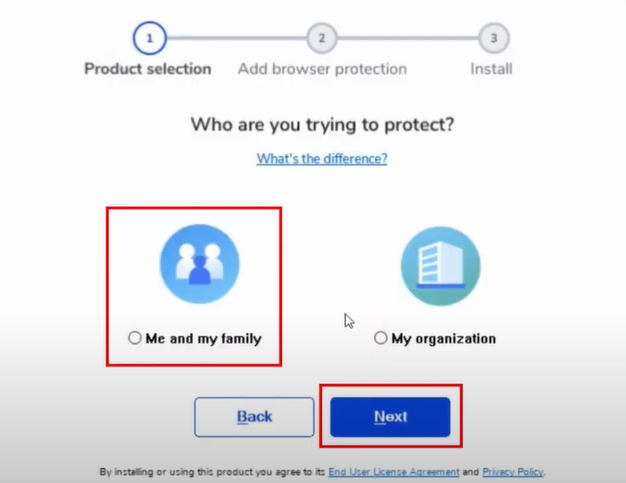
  1. Now, choose who you are trying to protect, then click Next. 

Click Next

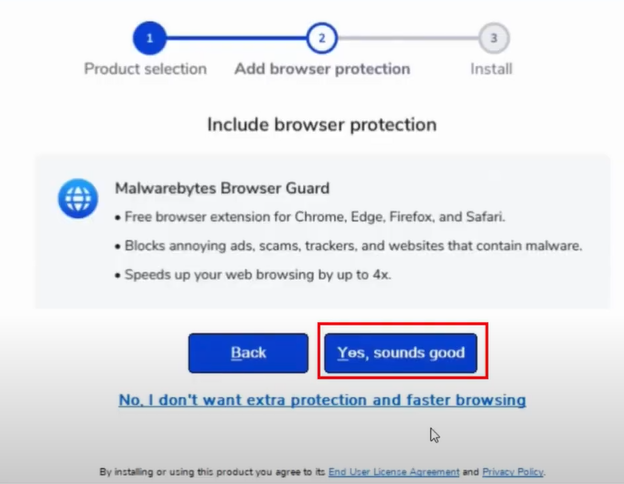
  1. If you would like to add the Browser Guard extension, then click on the ‘Yes, Sounds Good’ option. 

Click on yes sounds good

  1. Then, wait for a while for the installation process to complete. 

Wait for the installation process completed

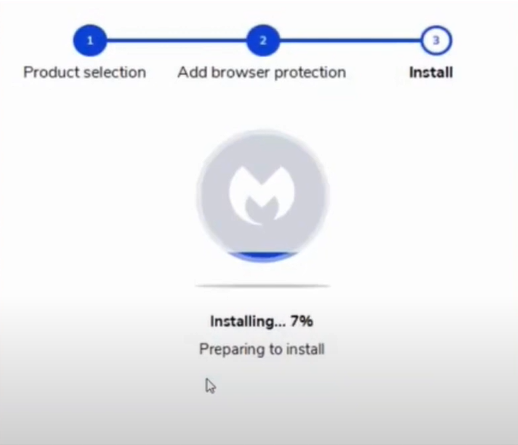
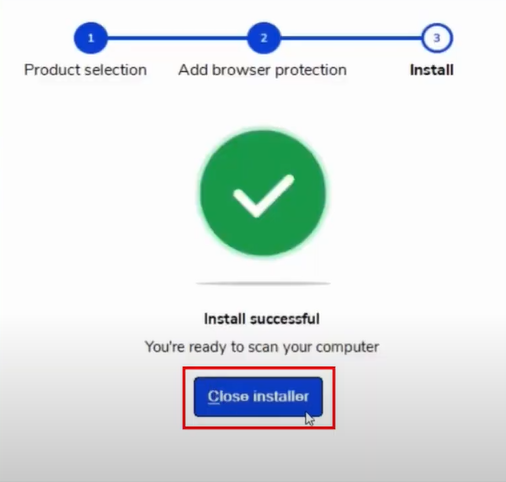
  1. When the installation process is complete, choose the option Close Installer. 

Choose the close installer

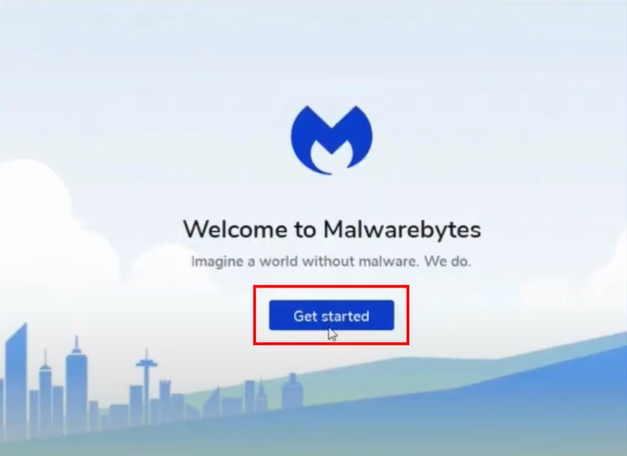
  1. Once done, open Malwarebytes and click on Get Started. 

Click on get started

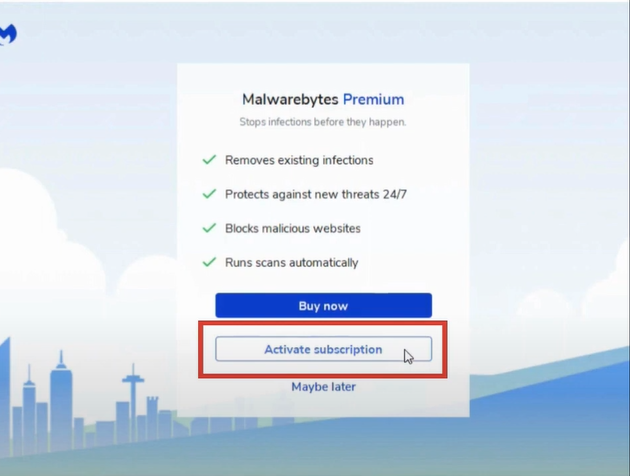
  1. On the open page, select the option Activate Subscription. 

Select Activate Subscription

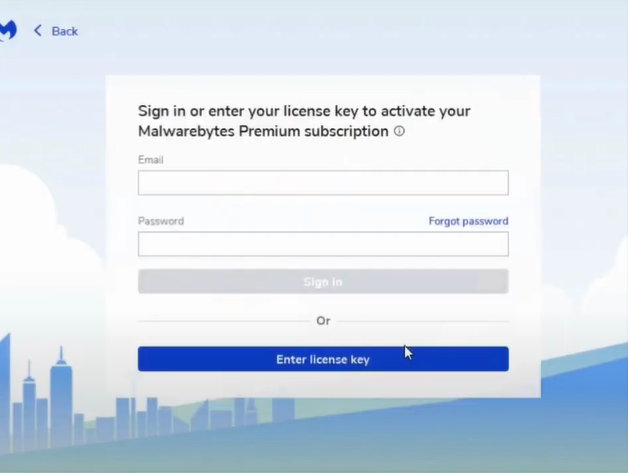
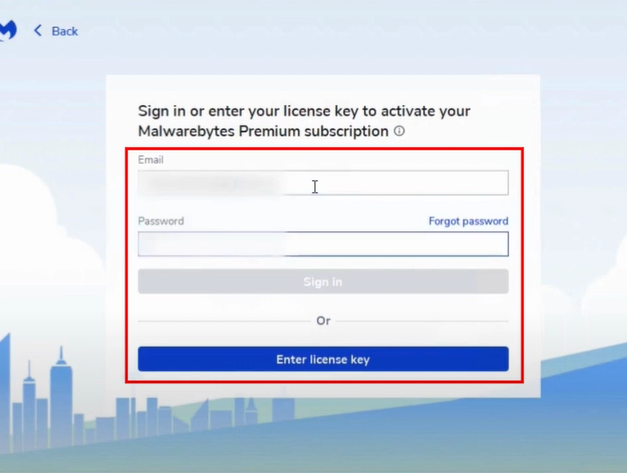
  1. After that, you will get the option to sign in or enter the licence key to activate. 

Enter the licence key

  1. Henceforth, if you want to sign in by email, then enter the ID and password in their field and click on Sign in. 

Enter Email Id and Password

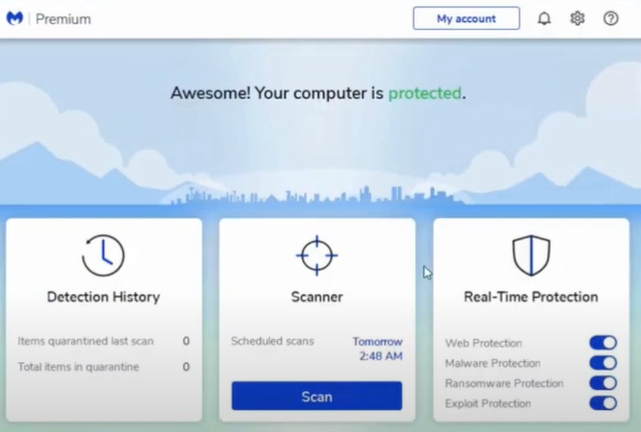
  1. Now, the Malwarebytes program is now activated on your new device. 

Malwarebytes Activated

Conclusion

As you have the full understanding of every step, you need to follow to complete Malwarebytes transfer to a new device. We have shared every step with related images to help you grasp every process thoroughly. Using our guide, you can transfer Malwarebytes from Windows to Mac or vice versa. Also, if you want to avoid any mistakes during the transfer process, make sure to follow every step carefully. If you are facing any error in the Malwarebytes transfer, then go for professional help if necessary.

Was this article helpful?
Antivirus Support
Tags: How we Transfer Malwarebytes to New Computer Transfer Malwarebytes to New Computer
  • Share
Prev
How to Uninstall Kaspersky on Mac?
Next
How to Resolve Bitdefender Antivirus Update Error?

free consultation

Table of Contents

  • The Process to Transfer Malwarebytes to a New Computer
  • Conclusion

Recent Post

About McAfee Corp

Learn All About McAfee Corp. [A Cybersecurity Company]

Feb 23, 2023
Kaspersky

Things You Need to Learn About Kaspersky Before Choosing It!

Feb 23, 2023
About AVG Technologies

All You Need to Know About AVG Technologies

Feb 23, 2023
Important Facts to Know About Norton

Important Facts to Know About Norton

Mar 27, 2023
Know About the Bitdefender Company

Everything You Need to Know About the Bitdefender

Mar 28, 2023
Antivirus Tales

At Antivirus Tales, our sole aim is to provide ideal solutions to issues related to all antiviruses. Our professional experts are available to assist you around the clock in fixing antivirus software errors. We are not related to any antivirus company in any way. We offer excellent customer service to clients and quickly put their antivirus issues to an end.

Company

  • Home
  • Knowledge Base
  • Support
  • Contact Us

Issues We Resolve

  • Learn All About McAfee Corp. [A Cybersecurity Company]
  • Things You Need to Learn About Kaspersky Before Choosing It!
  • All You Need to Know About AVG Technologies
  • Important Facts to Know About Norton
  • Everything You Need to Know About the Bitdefender
  • Everything You Should Know About the Sophos

Contact Info

  • Email info@antivirustales.com
  • Contact US +1-857-557-6826
    UK +44-161-791-4591
  • Address 698 NE 1st Ave, Miami FL 33132

Copyright © 2026 by Antivirustales.com All rights reserved.

  • Terms Of Use
  • Disclaimer
  • Privacy Policy
image-not-found
1
2
3
4
5

Step 1

Let's start 😀

Which operating system do you use ?

Step 2

Step 2 to 5

Let us know the device you are facing this error/issue on:

Step 3

step 3 to 5

Let us know, since how long have you been facing this error/issue

Step 4

step 4 to 5

Kindly enter your name and email

Step 5

Last step 🏆

Let us schedule a call for you

Step 5

Completed 100% 🏆

Thankyou for contacting us

Our subject matter expert will contact you on the provided number, kindly answer all the calls.

Chat Support
🍪 We are using Cookies! For more information visit this page  Cookie policy.