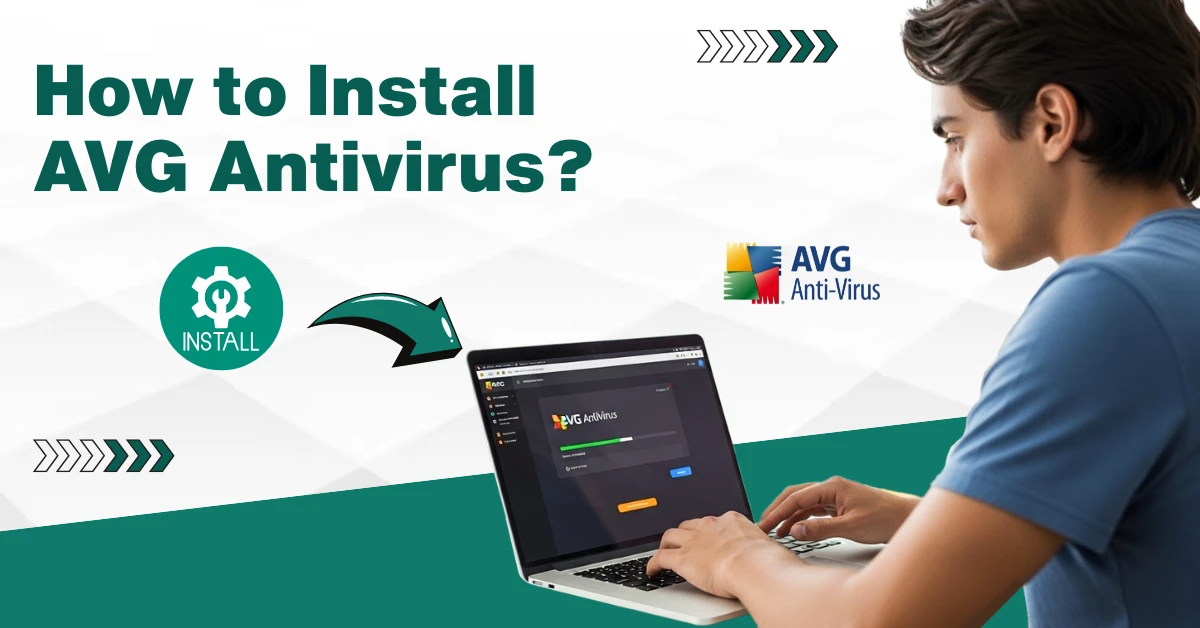
How to Install AVG Antivirus?
Things became chaotic for weeks when I realized my computer was overwhelmed by malware. The constant pop-ups appearing on the screen out of nowhere hindered my most important tasks. I felt frustrated and helpless. My productivity was affected, so I decided to switch to an antivirus solution, AVG.
AVG is powerful antivirus software with numerous advanced features. It offers great protection for your PC against various online threats. One impressive feature is real-time scanning. Also, it has a clean and intuitive user interface, which makes it easy to run scans, view reports, and customize settings.

But one thing that kept puzzling me was how to install AVG antivirus on my computer. After exploring a bunch of reviews and watching some YouTube tutorials, I finally found the installation method. Let me show you the steps that I followed.
Common Issues When Installing AVG Antivirus
Staying ahead of the challenges always pays off. In my case, I was already aware of the potential issues that may show up during AVG installation.
You may also encounter certain issues while installing AVG antivirus. Here are a few of them:
-
Conflicts with other antivirus tools
-
Error codes
-
DNS settings
-
Corrupted setup files
-
Missing files
The Process to Install AVG Antivirus Software
Malware can multiply if you do not take action. Use AVG antivirus to tackle annoying online threats.
Adhere to these steps to correctly install AVG antivirus on your computer:
Step 1: Open your browser and visit AVG’s official website.

Step 2: Once the Home page opens, click on Free Download.

Step 3: Once the file is downloaded, open it.

Step 4: Select language.

Step 5: In the Setup window, scroll to the bottom and choose to disable AVG Secure Browser options.

Step 6: Click on Install or Customize.

Step 7: If you have clicked on Customize, select the components of protection you want and click on Install.


Step 8: If you have clicked on the Install button, wait for the installation to complete.

Step 9: Once installed, the AVG window will open.

Step 10: Click on Continue.

Step 11: Click on Continue with free, or you can upgrade.

Step 12: Click on Run First Scan.

Step 13: Once the scan is finished, click Done.

Step 14: If you have selected to install AVG Secure Browser, open Search and enter AVG.

Step 15: Click on AVG Secure Browser.

Step 16: Fill in the details on the "Make AVG Secure Browser your own" page.

Step 17: Click on Finish Setup.

Also Read:- How to Troubleshoot AVG Account Login Issue?
Summing Up
With my deep research and understanding, installing AVG antivirus on my system became quite straightforward. I faced some minor issues, like error codes and missing files, during the installation, but I addressed them smartly.
After successfully installing AVG, my PC is now protected from online threats. There were no more pop-ups, freezes, or unexpected crashes while performing my daily tasks.
