
How to Troubleshoot Can’t Install Bitdefender Antivirus Issue?
Did you receive an error message stating "Bitdefender Installation failed” while installing Bitdefender on your computer? If so, it means the antivirus couldn’t be successfully installed. The error may appear for several reasons, including an outdated operating system, conflicting software, or insufficient permissions.
Bitdefender antivirus may not be installed if your computer (Windows or macOS) has an older version. Another antivirus software installed on your system may interfere with Bitdefender’s installation. Firewalls or in-built security features may incorrectly block Bitdefender from installing or functioning. Also, if your computer lacks enough space or memory, the installation may stop or crash.

So, how do you resolve the “can’t install Bitdefender antivirus” issue? Check the troubleshooting solutions below.
Common Issues When Installing Bitdefender Antivirus Software
Here are a few common problems that may arise when you try to fix the “can’t install Bitdefender antivirus” issue:
-
The operating system is not compatible or not updated
-
Conflicting applications or firewalls
-
Insufficient system resources
-
Pending Windows updates
4 Best Solutions for Fixing Bitdefender Installation Issues
Try these troubleshooting solutions to resolve the “can’t install Bitdefender antivirus” issue:
Method 1: Disable Windows Defender Protection
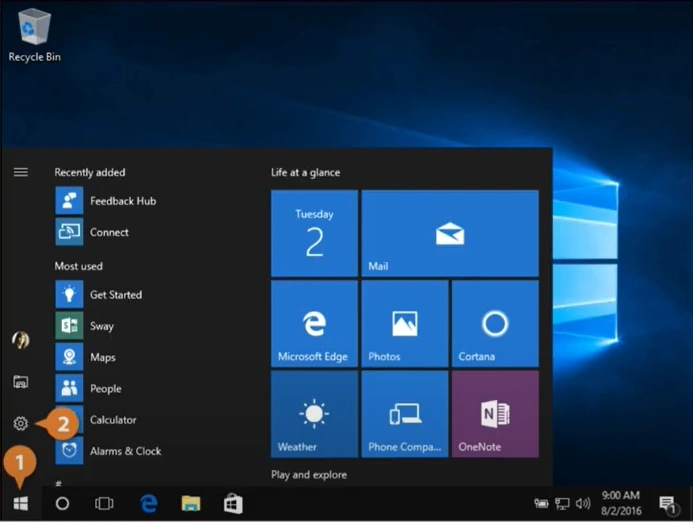
Step 1: Right-click on the Windows start button and select Settings.

Step 2: Select Update & Security, then click on Windows Security.
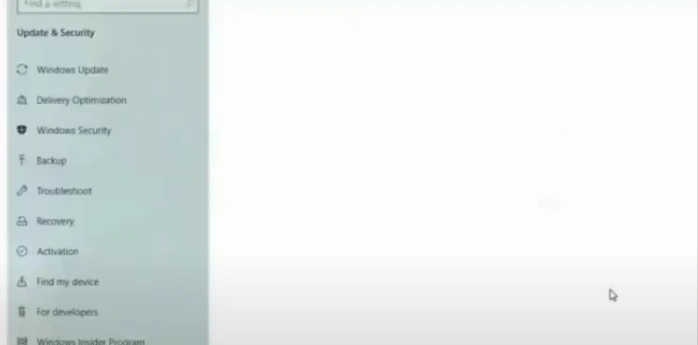
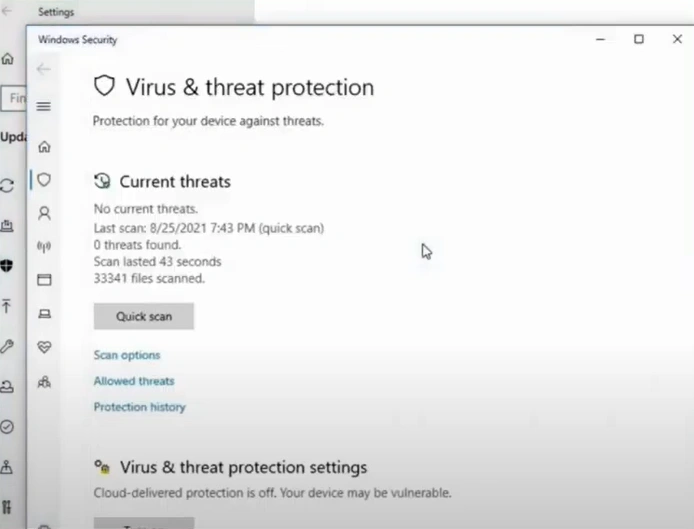
Step 3: Click on Virus & Threat Protection, scroll down, and click Manage Settings under Virus & Threat Protection Settings.
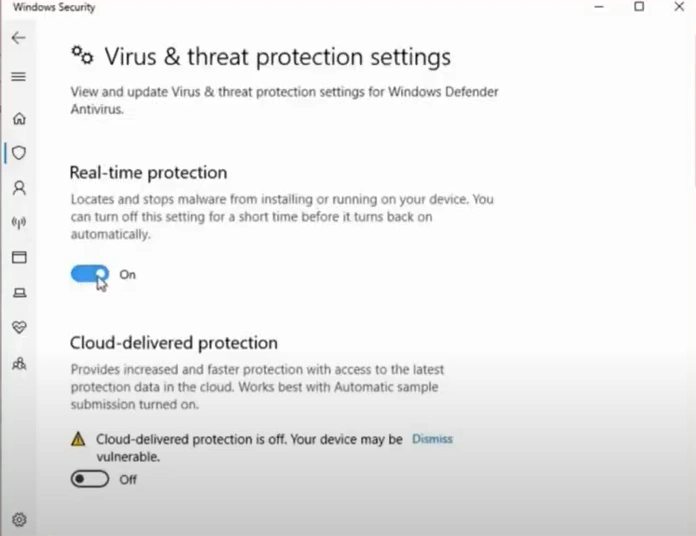
Step 4: Turn off Real-time Protection to allow Bitdefender installation and close the window.
Method 2: Update Your Operating System
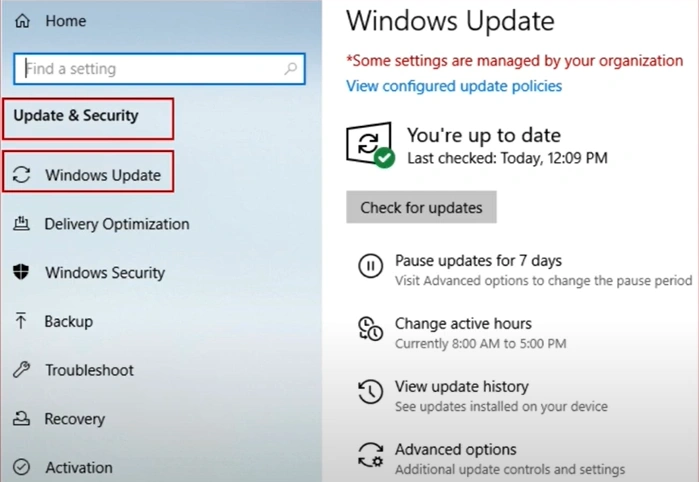
Step 1: Click on the Windows start button and select Settings.
Step 2: Select Update & Security and then click on Windows Update.
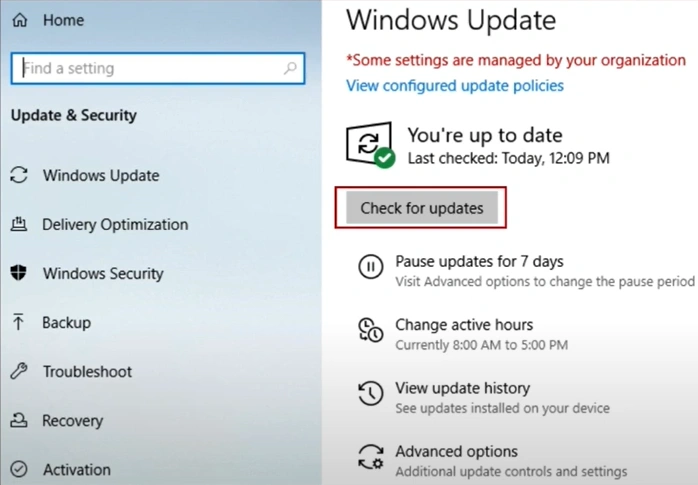
Step 3: Next, click on Check for Updates, and it’ll start searching for available updates.
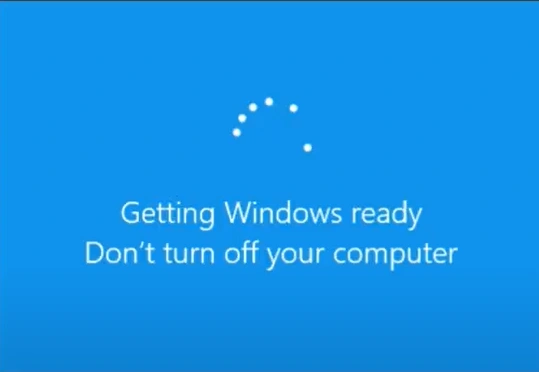
Step 4: Once the update is complete, restart the system.
Method 3: Manually Add Permission to Bitdefender Installation Folder
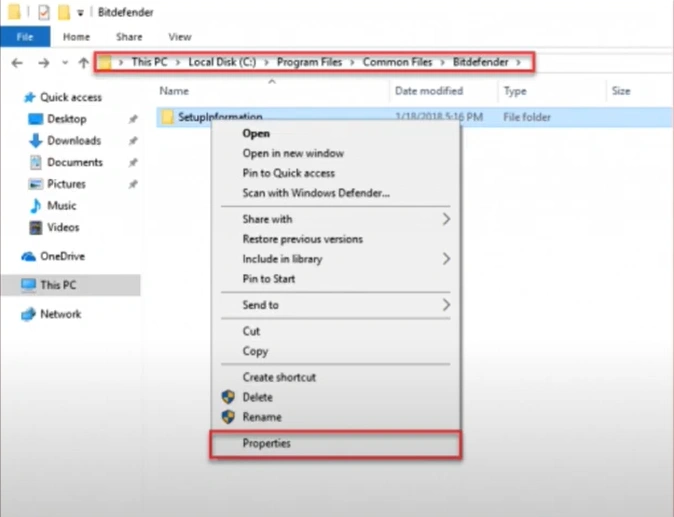
Step 1: Create a Setup Information folder in C:\Program Files\Common Files\Bitdefender\SetupInformation.

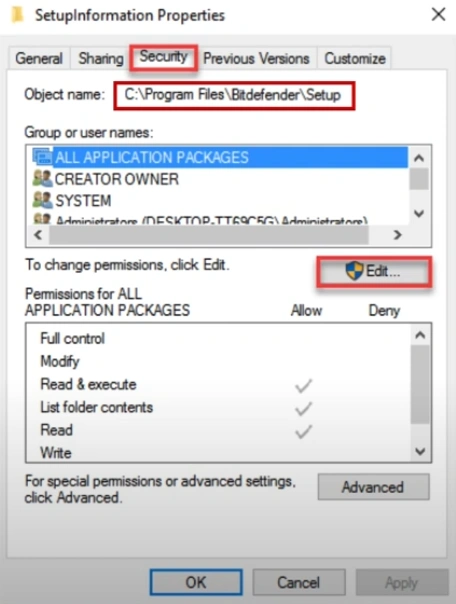
Step 2: Right-click on the Setup Information folder and select Properties.
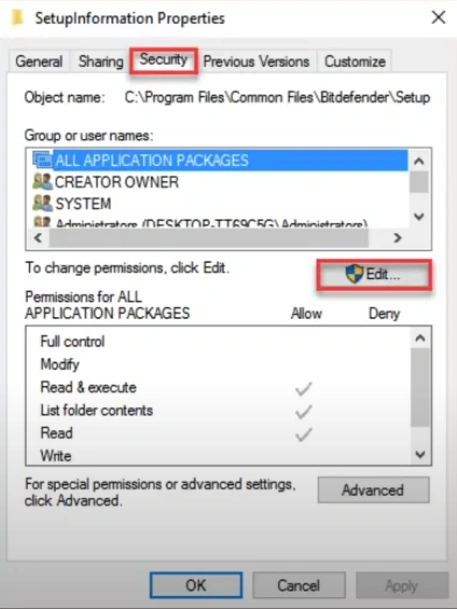
Step 3: Go to the Security tab and click Edit.
Step 4: Select your Windows username and check the Allow box next to Full Control.
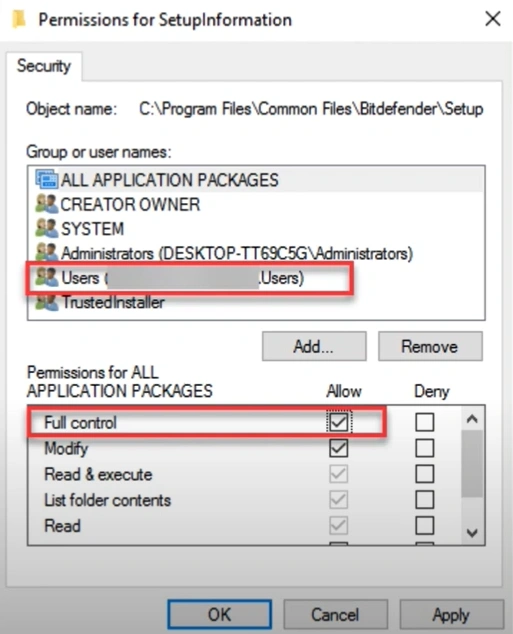
Step 5: Click OK to save the changes.
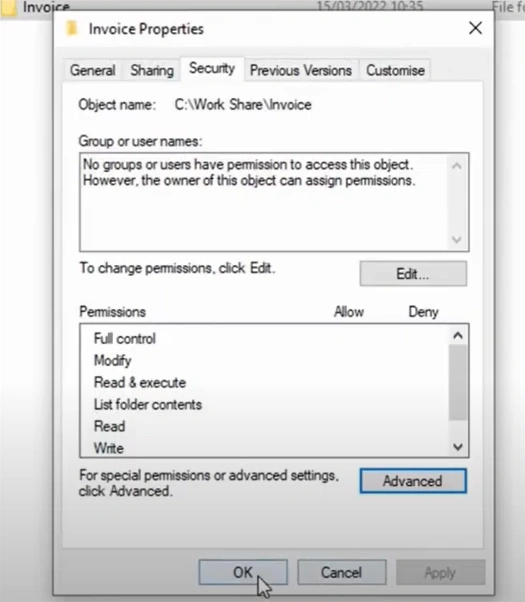
Step 6: Make sure to set full permission for C:\Program Files\Bitdefender and C:\Program Files\Common Files\Bitdefender folders.
Method 4: Run a Disk Cleanup
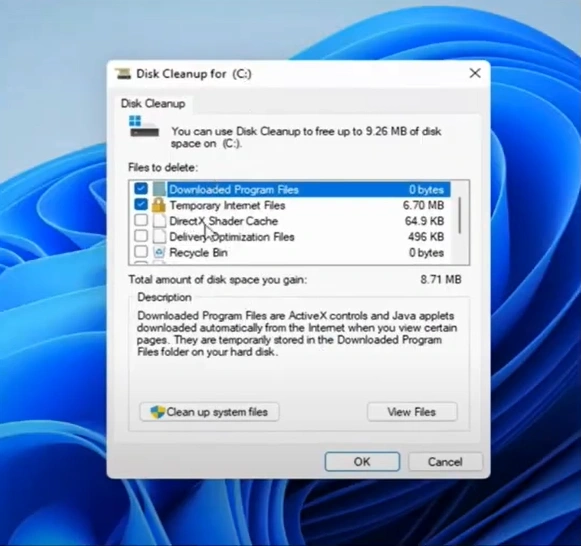
Step 1: Click the Windows search icon, search for Disk Cleanup, and open it.
![]()
Step 2: In the Disk Cleanup window, select the files you want to remove.
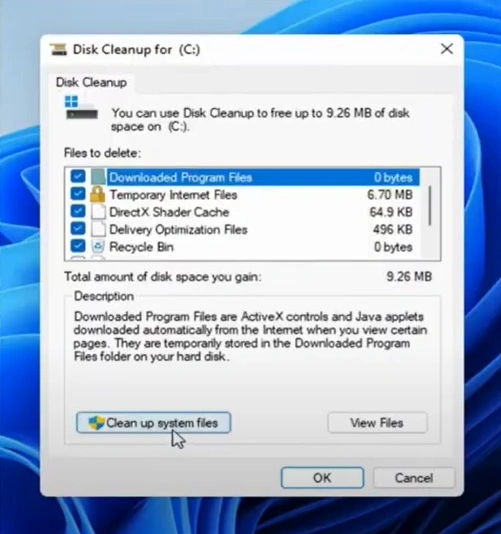
Step 3: Click on "Clean up System Files" and wait for the scan to complete.
Step 4: Once complete, click OK, then select "Delete Files" in the Disk Cleanup prompt.
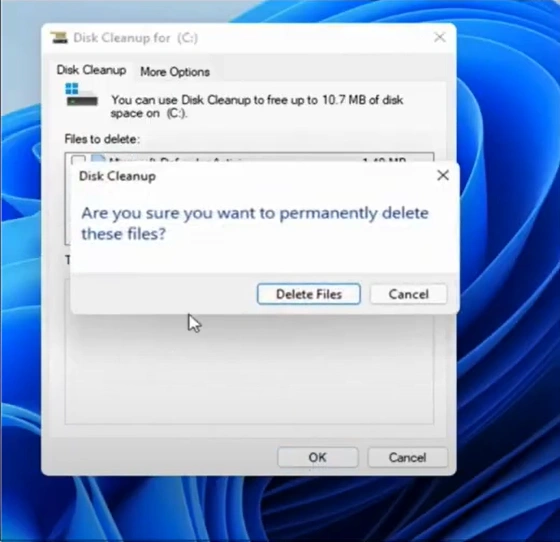
Step 5: The process will take a few seconds to complete.

Wrap Up
Here, we conclude with troubleshooting solutions for fixing the “can’t install Bitdefender” issue. After applying these solutions, try to install and run the Bitdefender antivirus software on your system.
Remember, an outdated operating system, insufficient disk space, or leftover files from previous antivirus programs can cause installation errors. Be aware of all this before proceeding.
